What I used, you may make yours differently:
 Then we need to attach the string to the connector, the following picture shows how the blade identification resistor fits snugly in the connector itself. 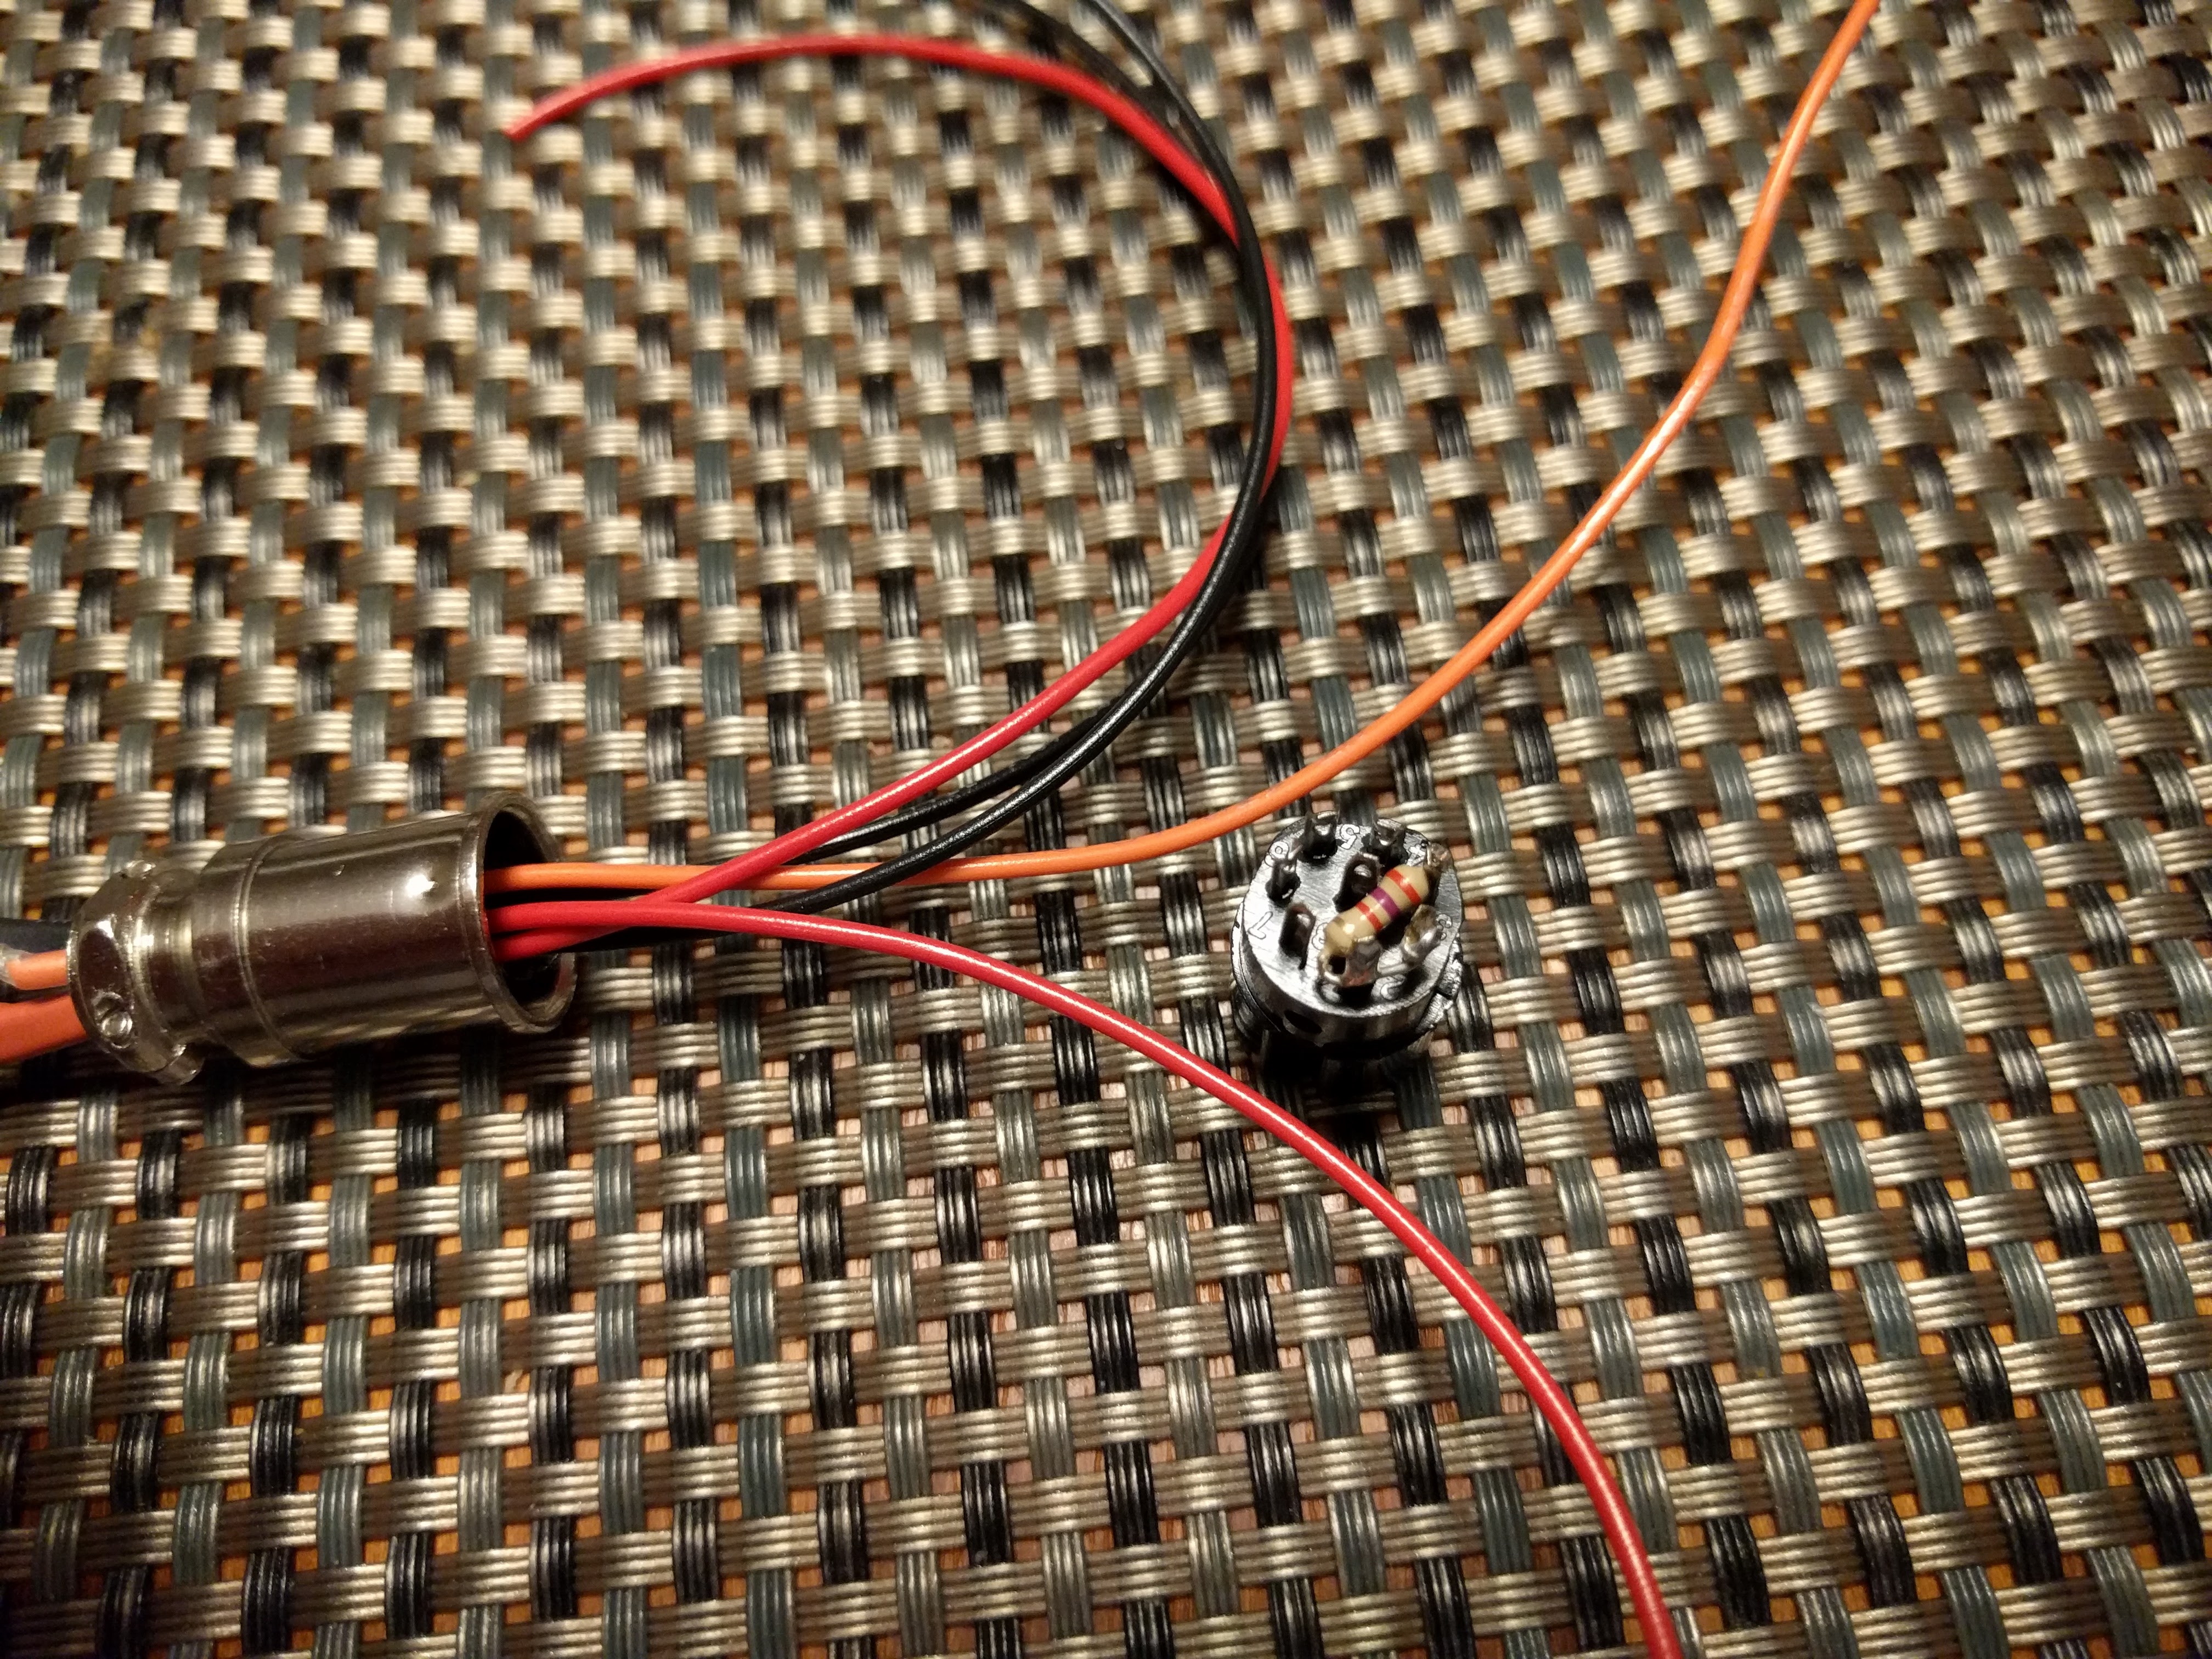 Once the string is all wired up, all you need to is to wrap it in packing foam and insert it into the blade. Instead of me explaining it (poorly), please watch this excellent video. And here is a closeup of the end, the plastic pieces should be glued to the blade, but make sure you use a glue that is safe for polycarbonate. Double-stick tape also works. I have in fact not glued these pieces in at all, as they fit quite snugly and are held in place with friction. 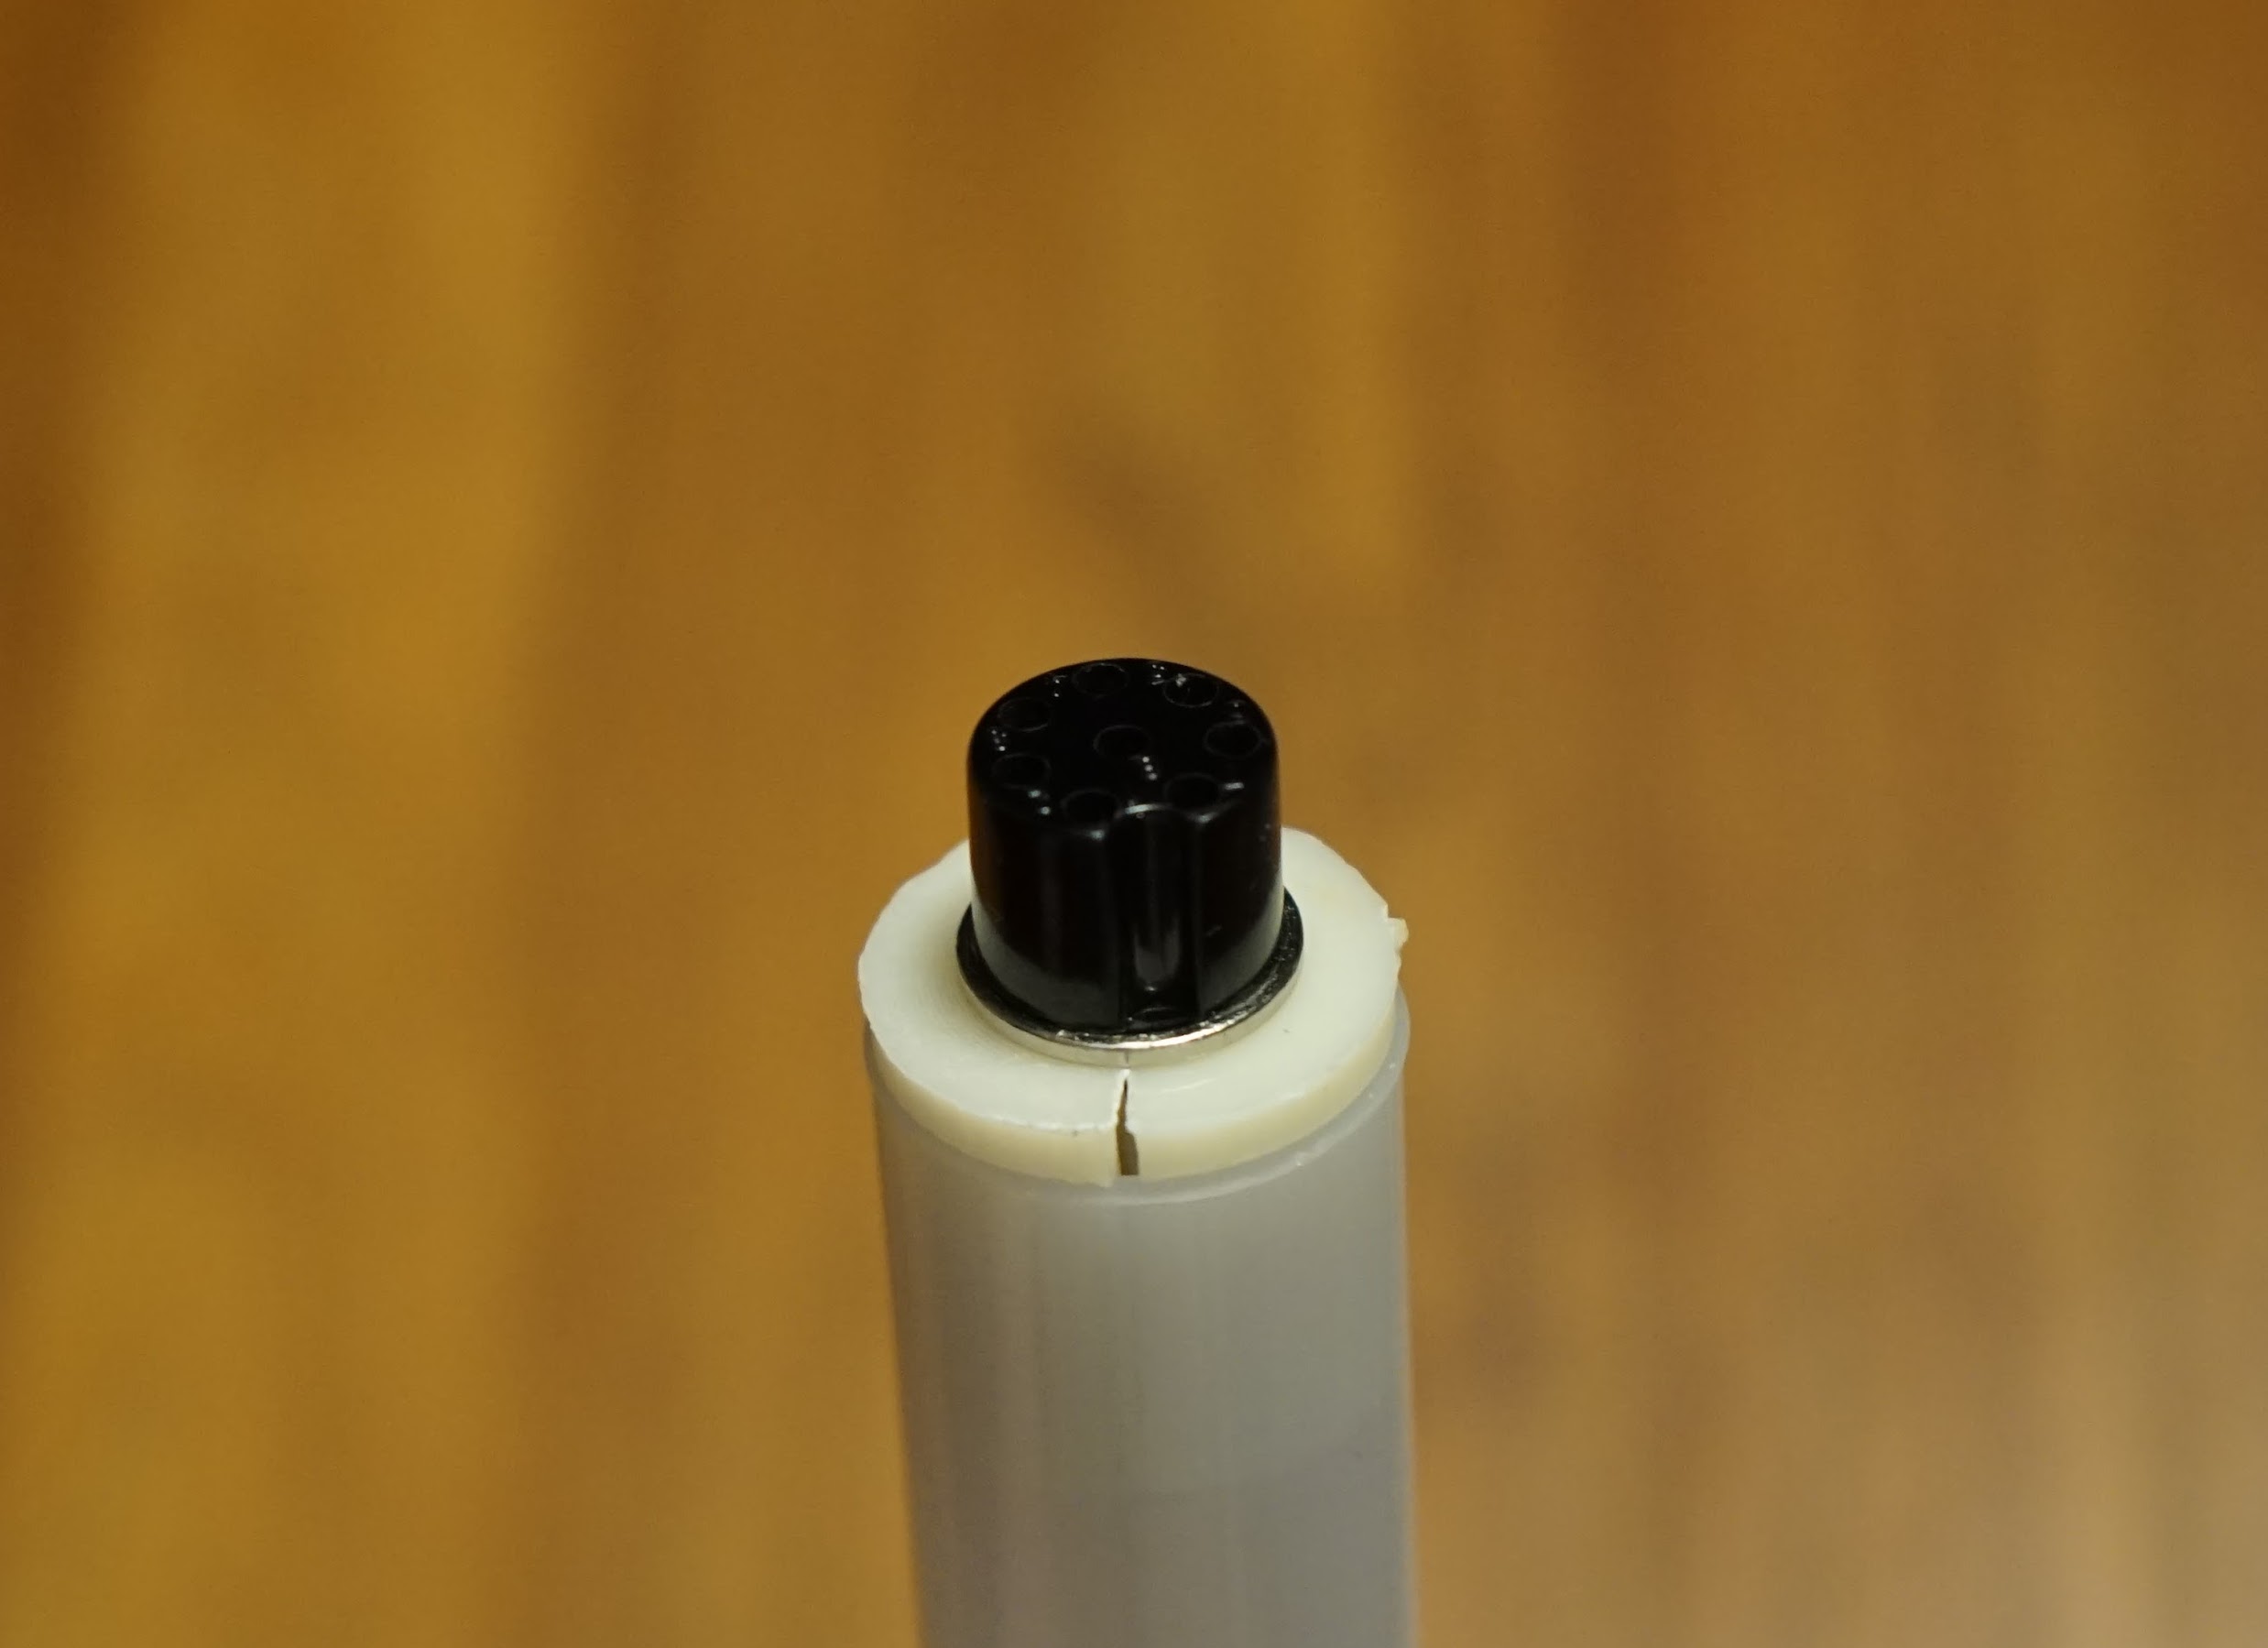 While this blade turned out great, and is a lot brighter than my PL9823 blade, and can neither scroll nor change color, the PL9823 blade is just a lot more fun. Problems? Questions? Suggestions? Check out The Crucible. Last modified: March 29th, 2021 - Design by Monica & Fredrik Hübinette |
|||||||||||
