This is what I used for the LED star adapter:
Here is what we're making:  Cut a ~55-60mm length of copper pipe. The exact length isn't important, as long as it is less than 65mm. (Note, this depends on how much space you have in your blade holder. If you have a graflex 2.0, and using my chassis, 65mm is about the maximum. Generally, shorter is better, but leaves less space for wiring and resistors. My tube is 58mm. Put a ~1mm wide grove right inside the edge of one side of the tube. The right tool for this job is a lathe, but since I don't have one I used cheap dremel drill press with a 199 dremel cutter instead. Then I hand-cut the L-shaped bayonet cut on the other end of the tube, using a dremel 113 cutter. I ended up widening the cut later, you want the horizontal part of the cut to be about 2mm wide and the vertical part about 5 mm wide. Once that's done, make another groove on the inside, right below the bayonet cut.   
At this point, you want to make sure that the washers actually fit inside the tube. The stated diameter is 1/1000th inch bigger than the inside of the tube, but mine fit anyways. If they do not, you'll need to file them down until they fit snugly. To simplify construction, and to improve heat transfer, I glued four washers together, using a 1/4" screw to keep them together. You could also use thermal epoxy, or you could use solder paste and bake it. Gluing the washers together is not actually required tough, as they will be kept together with pressure anyways.  
Now it's time to start putting the insides together. Cut six short wires, 2 inches will be enough. Solder them to the pads on the LED star, and thread them through the center hole. Then, you can attach the LED star to the pile of washers. I used thermal tape bought from TCSS, but anything that facilities heat transfer will work. (In fact, not using anything is probably ok too.)  
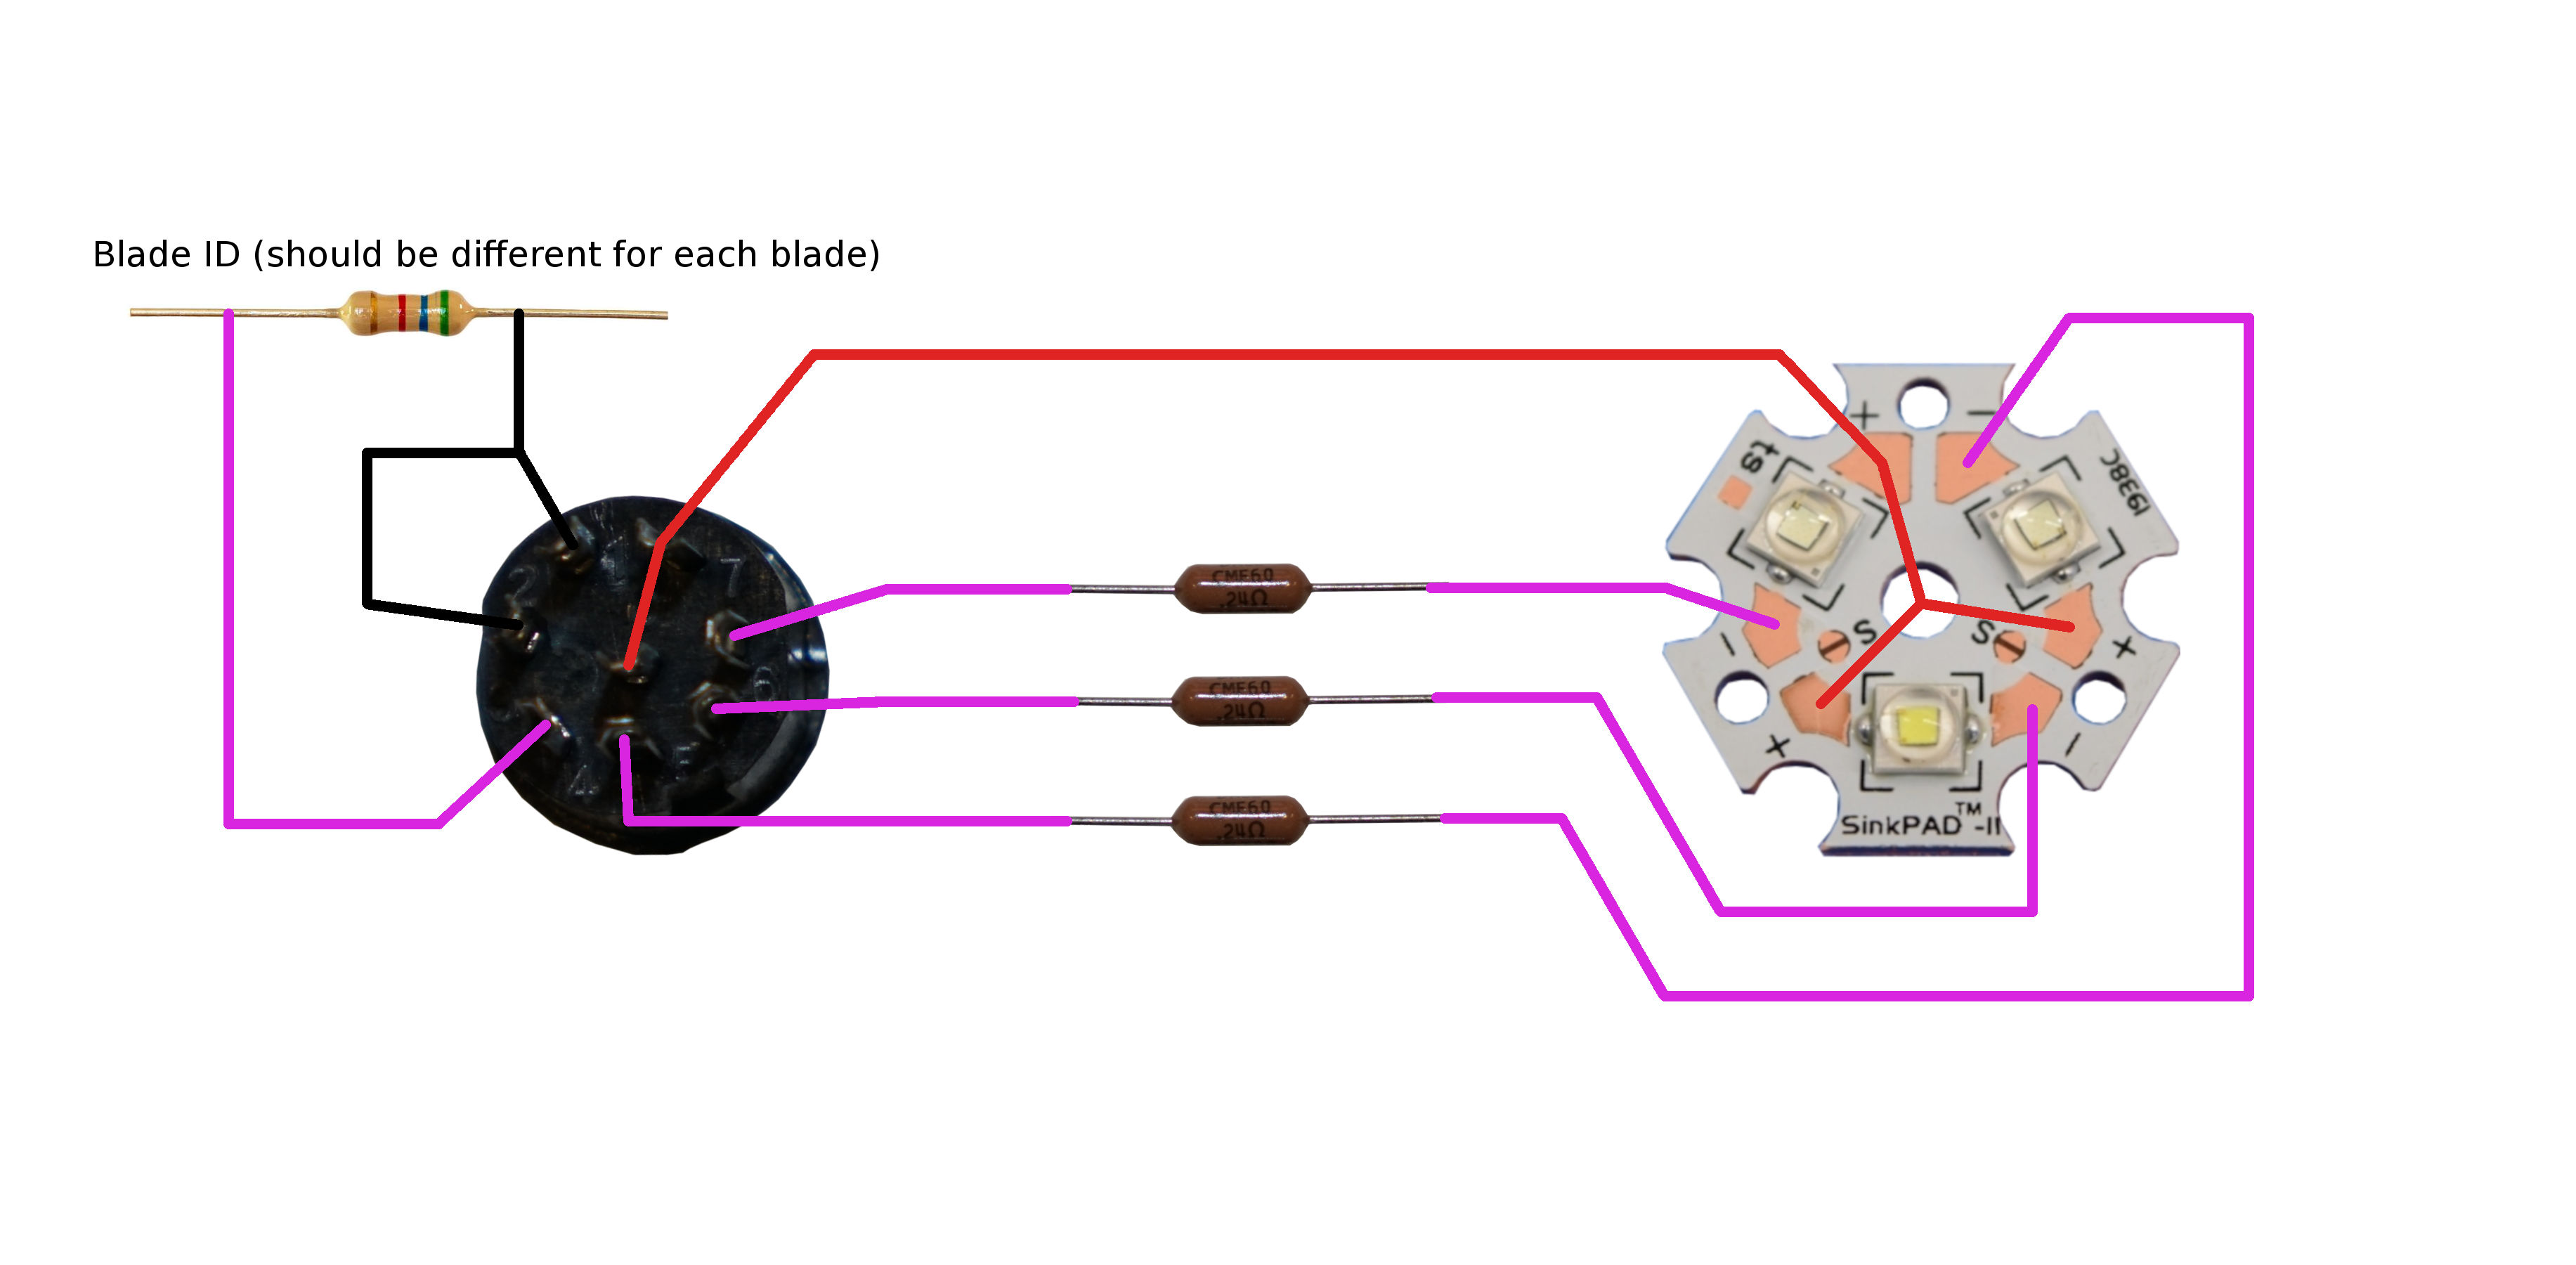
Time to build the circuit: 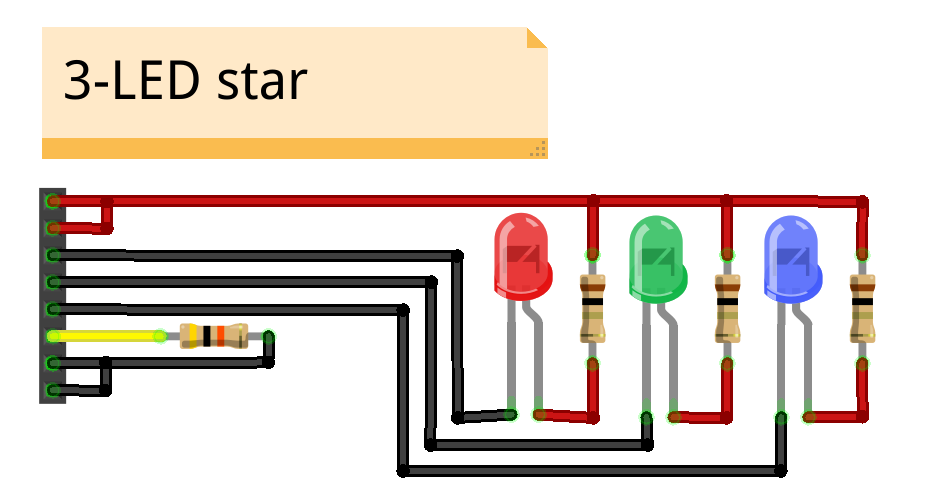
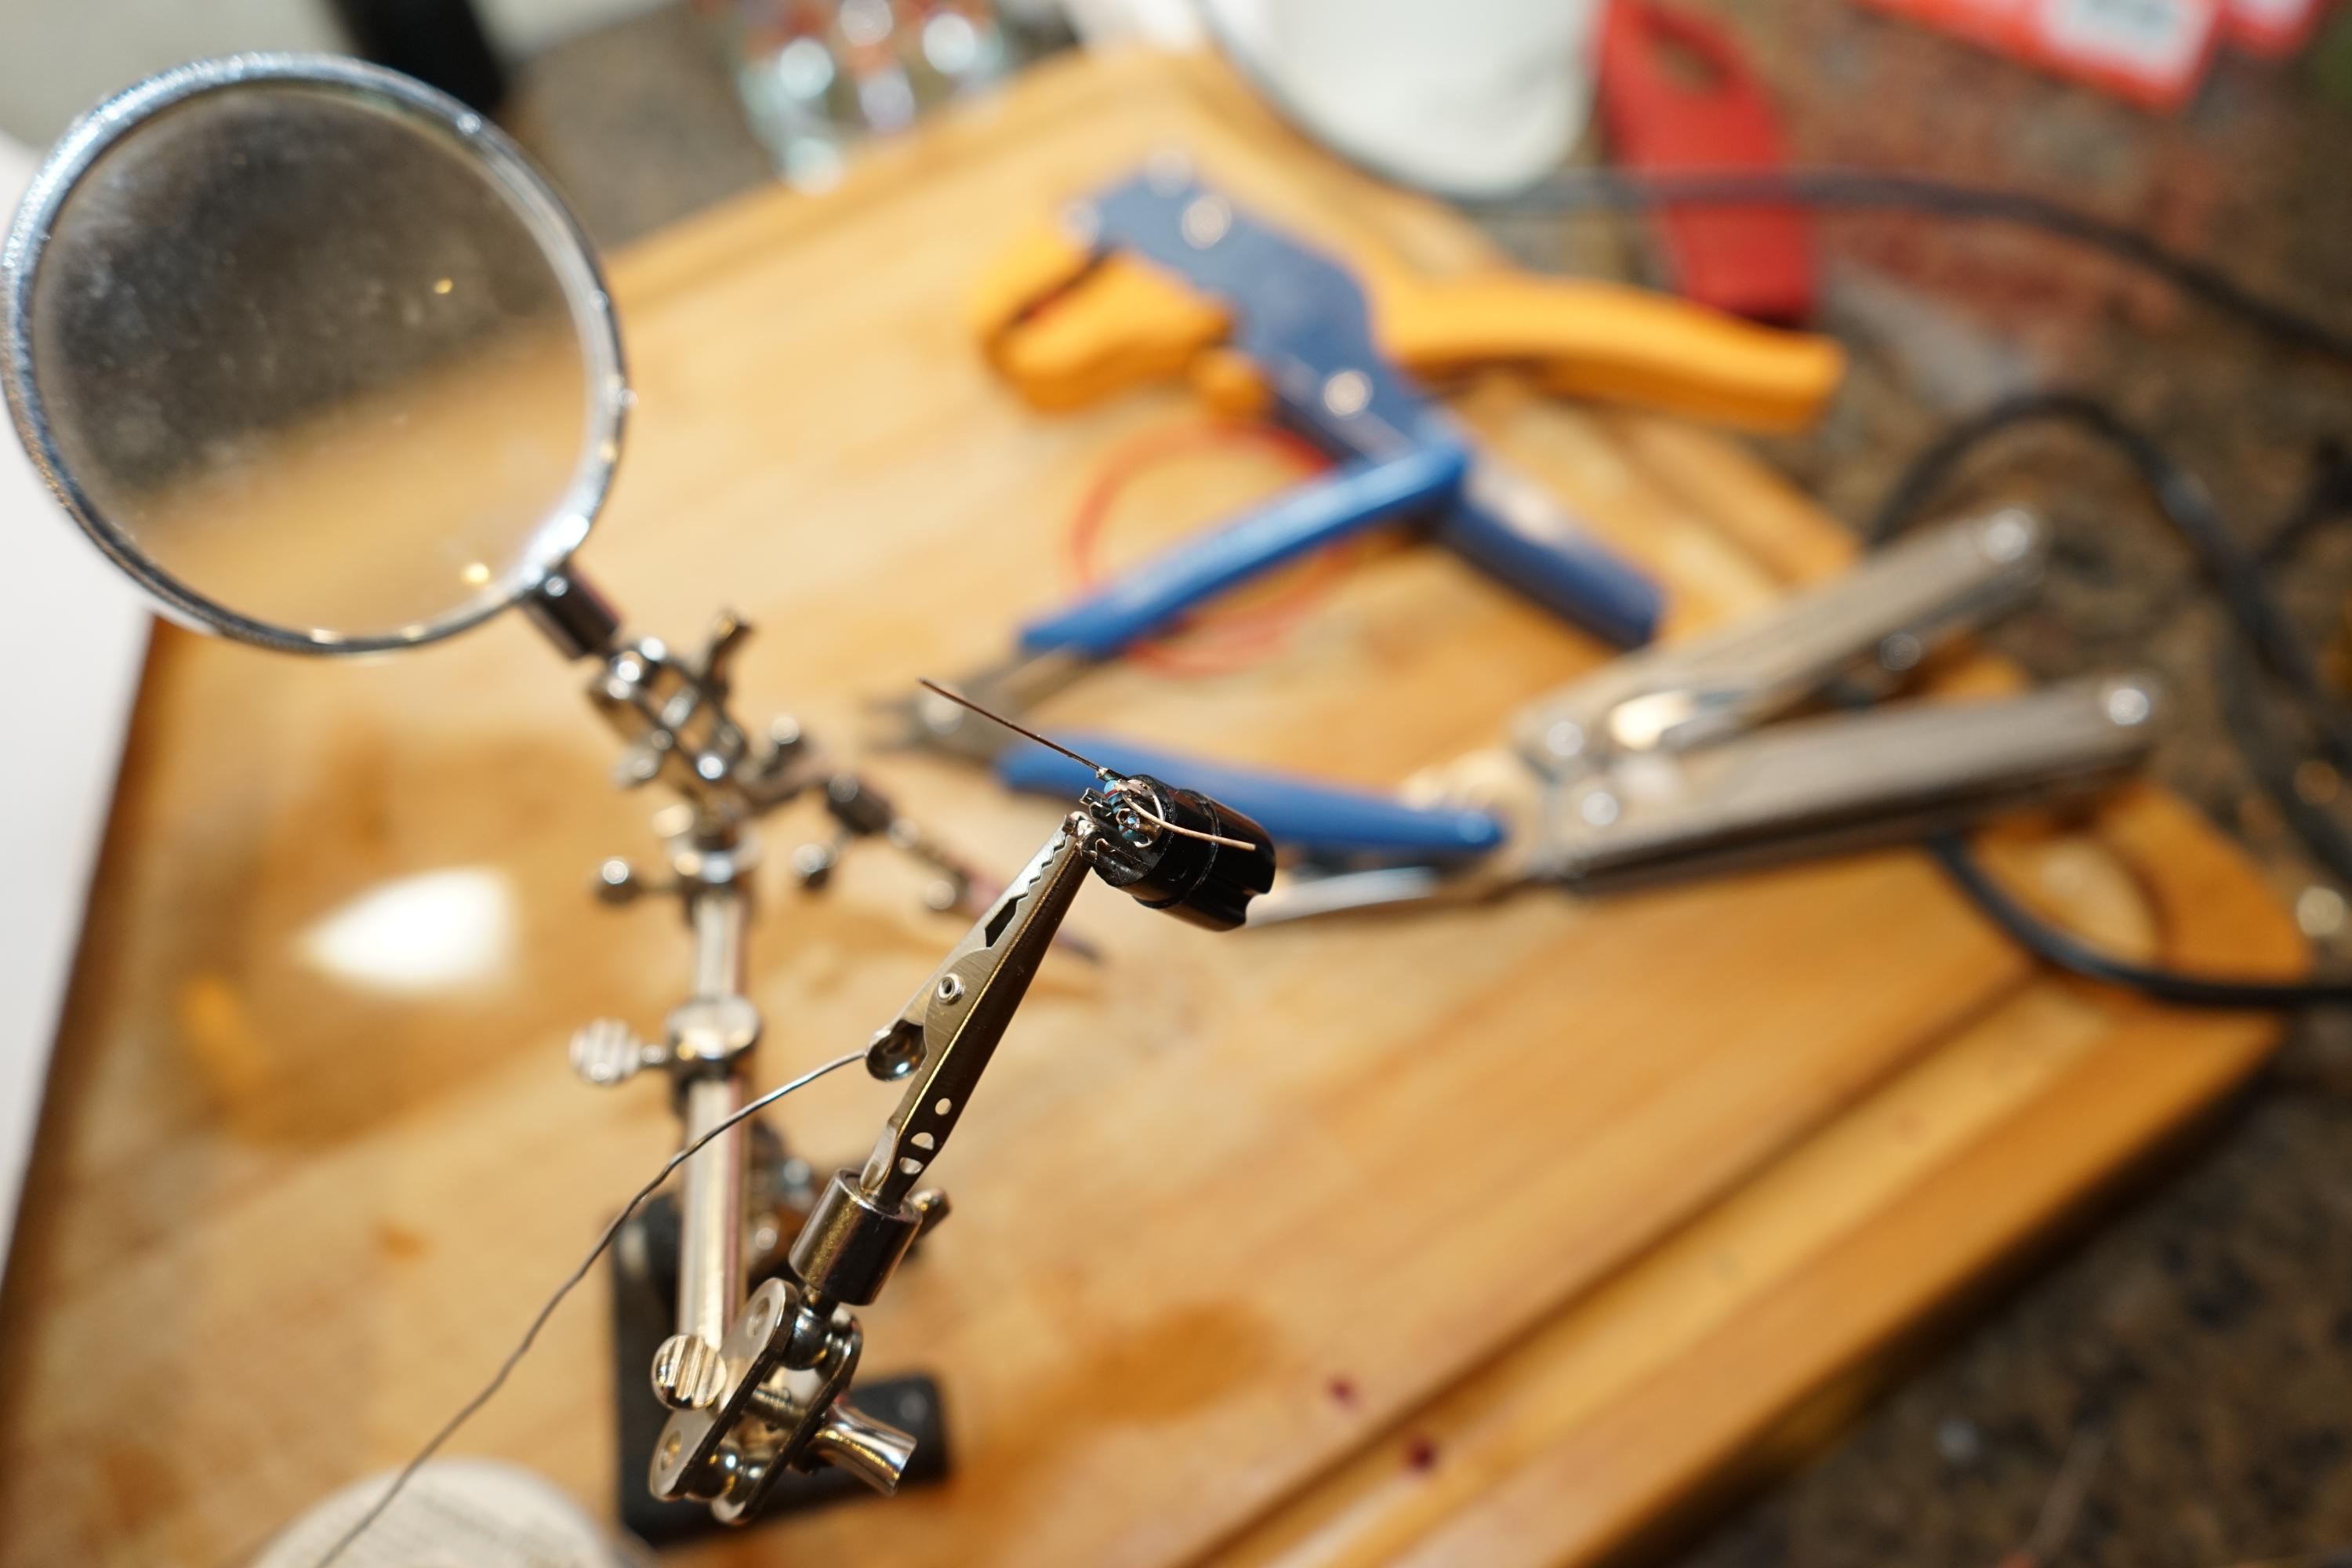 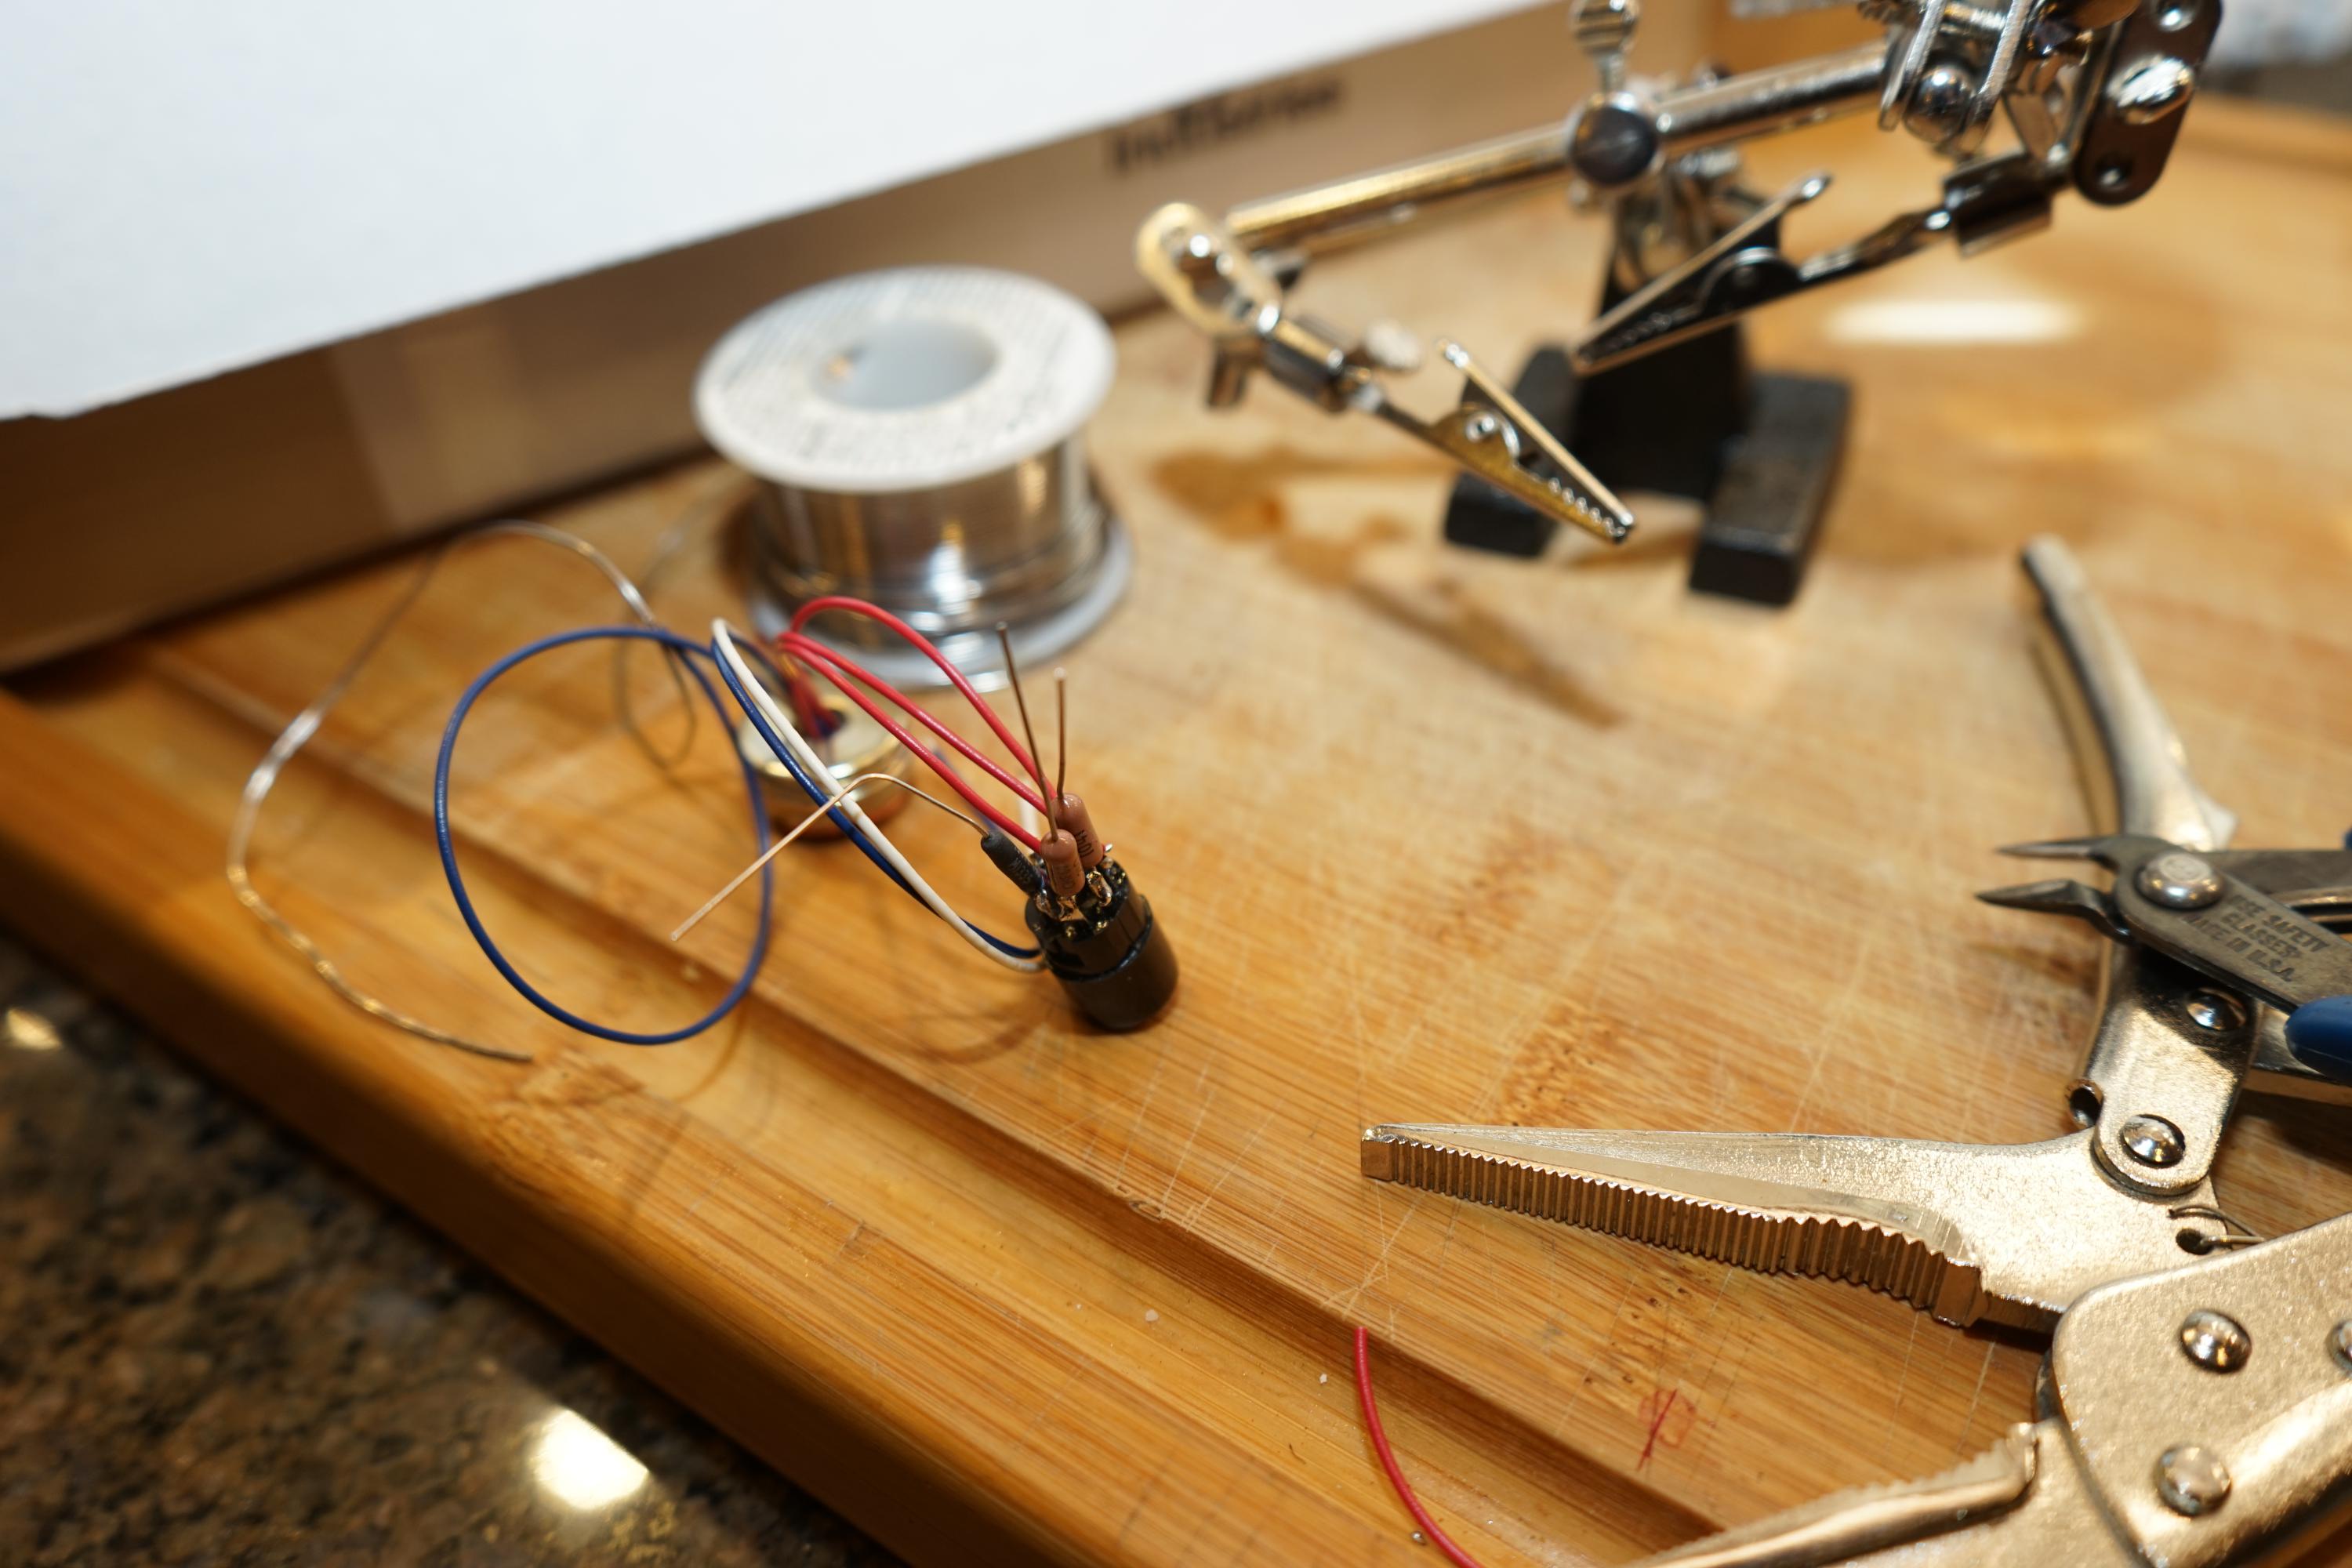
Cut off excess wires and use the shrink tube to protect the solder joints. At this point, everything should be hooked up and it's time to test it. Once you're sure that everything is working, use a hot-glue gun to secure the pins and wires on the back of the blade connector. 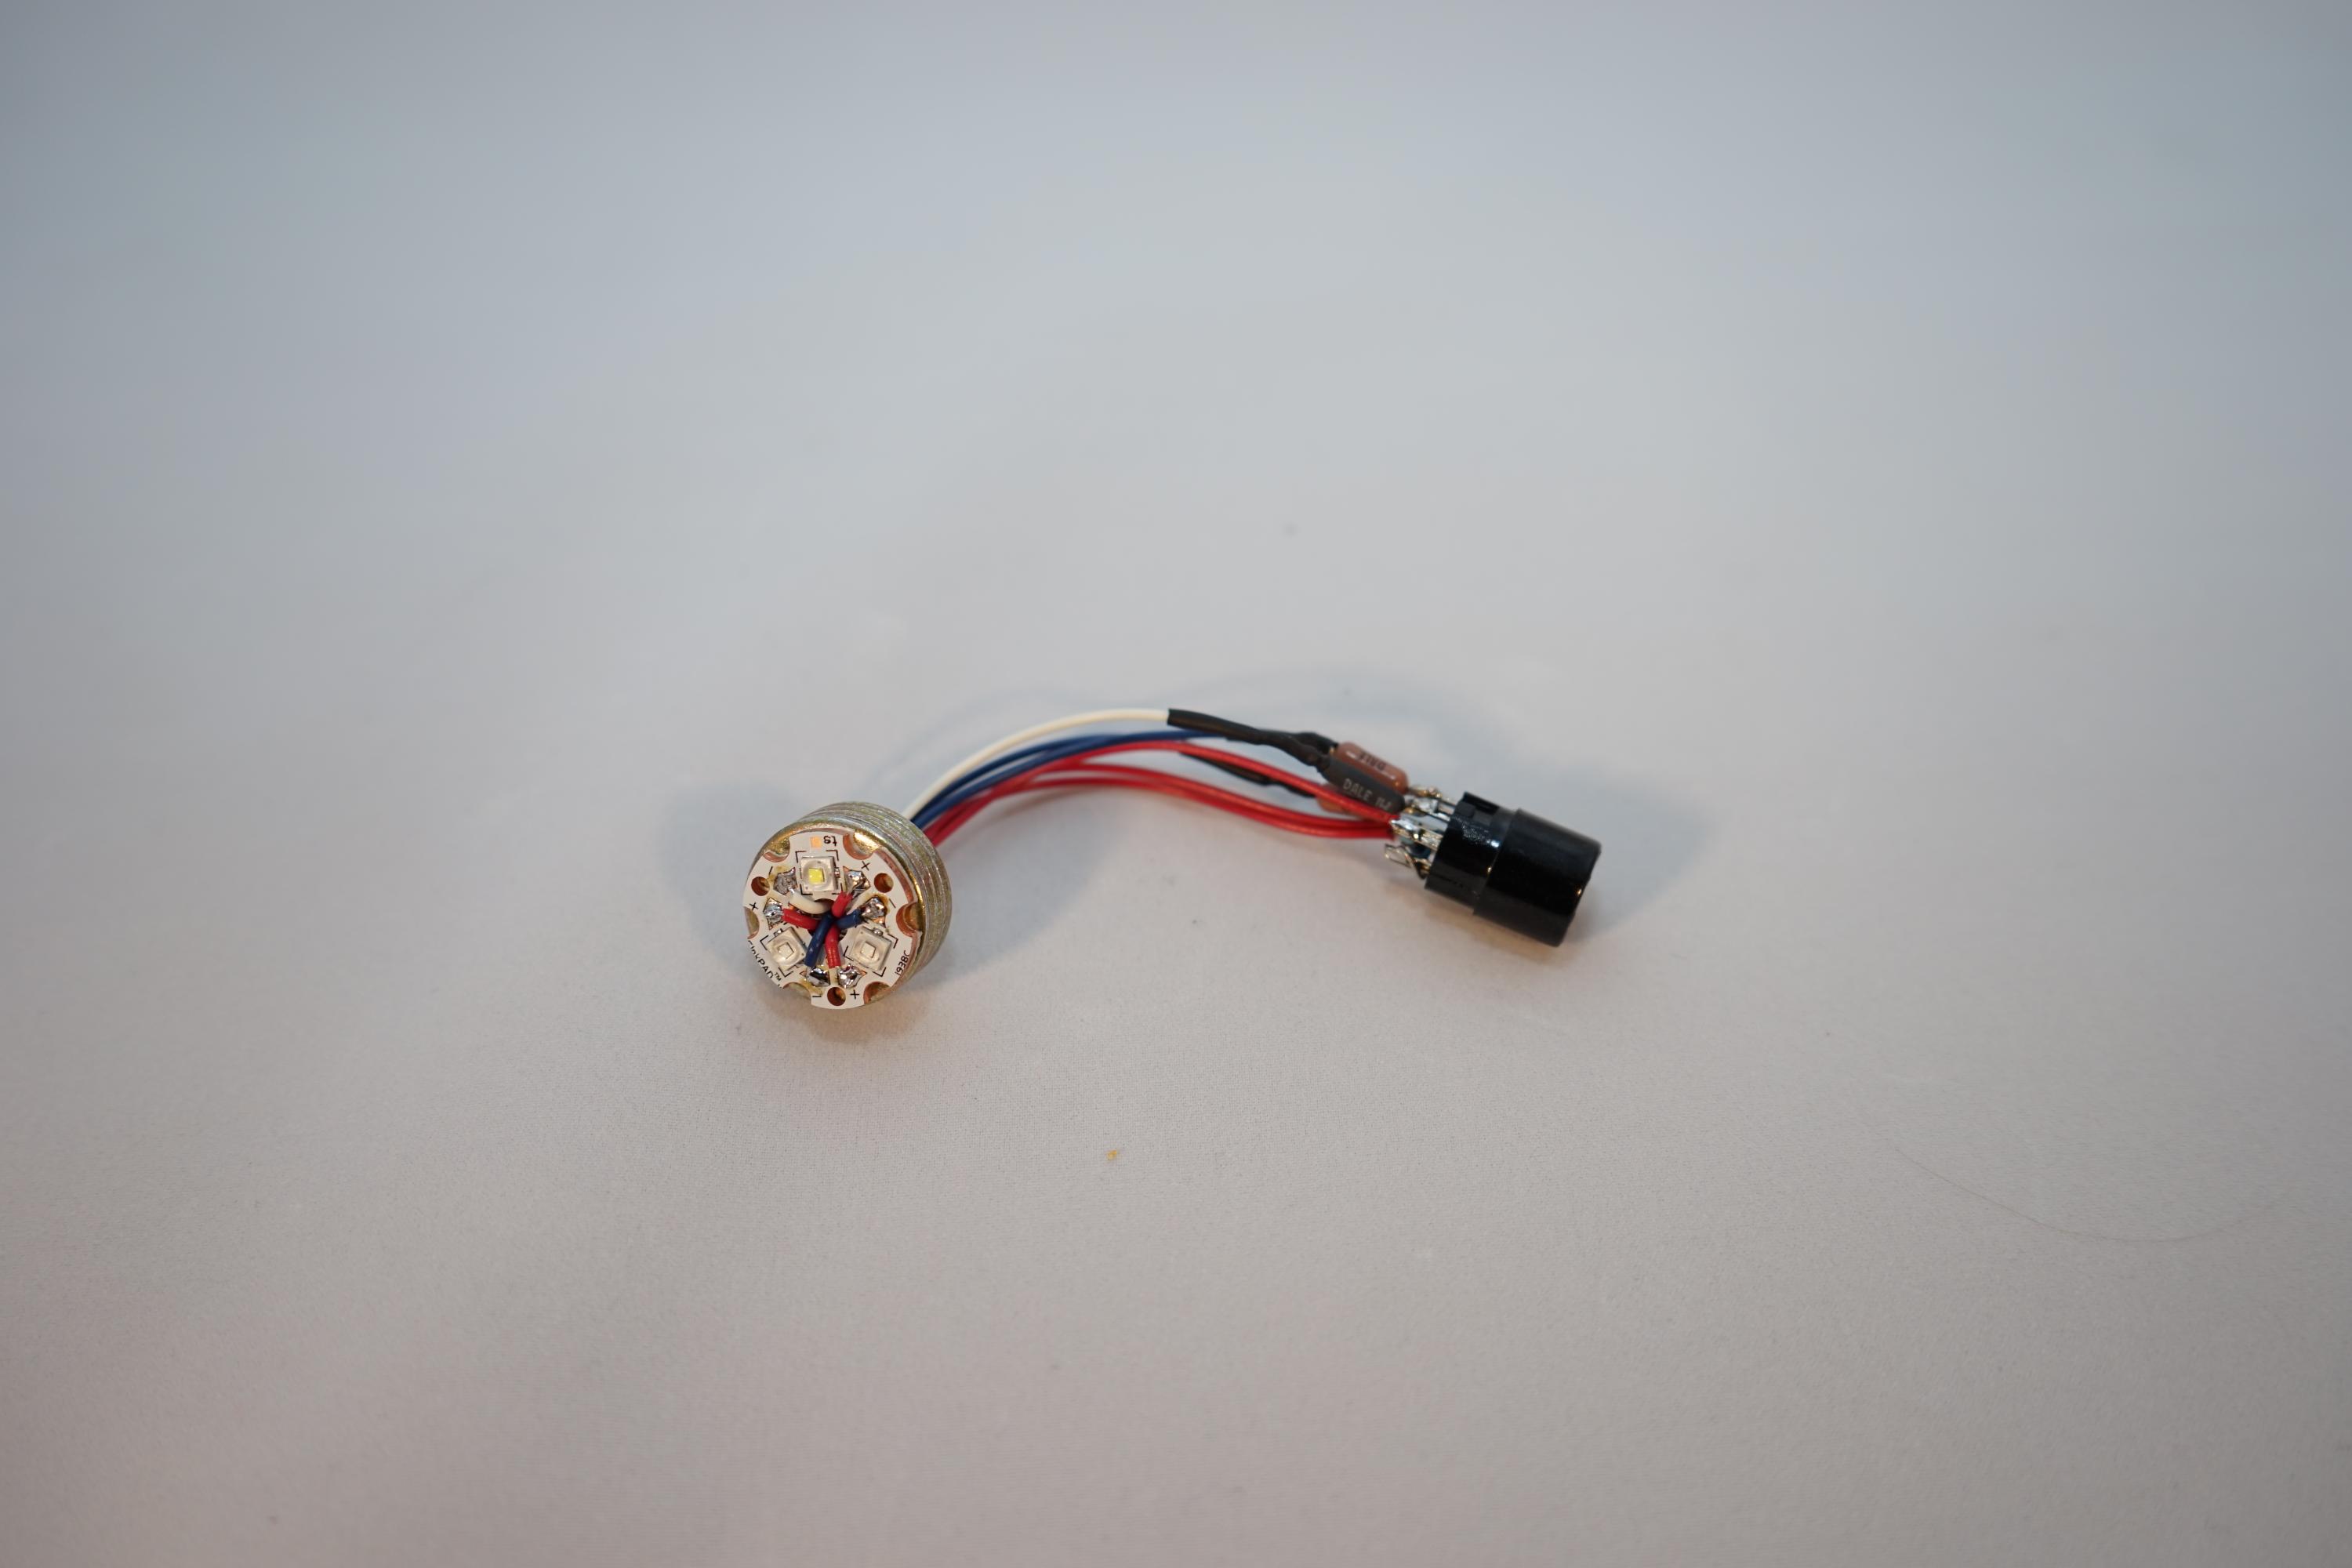
Time to put everything together. To make things easier, I recommend using a tiny amount of glue to hold the lens to the LED star. It's not required, it just makes it easier. You can start at either end really. These instructions will assume that you start at the lens end, like I did. First, put a retention ring in the bayonet-cut end of the copper tube, then shove the lens, LED star and washers in the other end of the tube. 
Time for the tricky part: Cut a length of silicon tubing, long enough to hold everything in place and apply a little pressure to the back of the heatsink. Thread the blade connector through the sillicone tube and put the silicone tube into the copper tube. Then carefully twist the wires and blade connector to position them inside the tube. Use the 3d-printed pieces to hold the blade connector in place and push it into the tube. Then secure everything with another retention ring. All done. Now, it should look like this: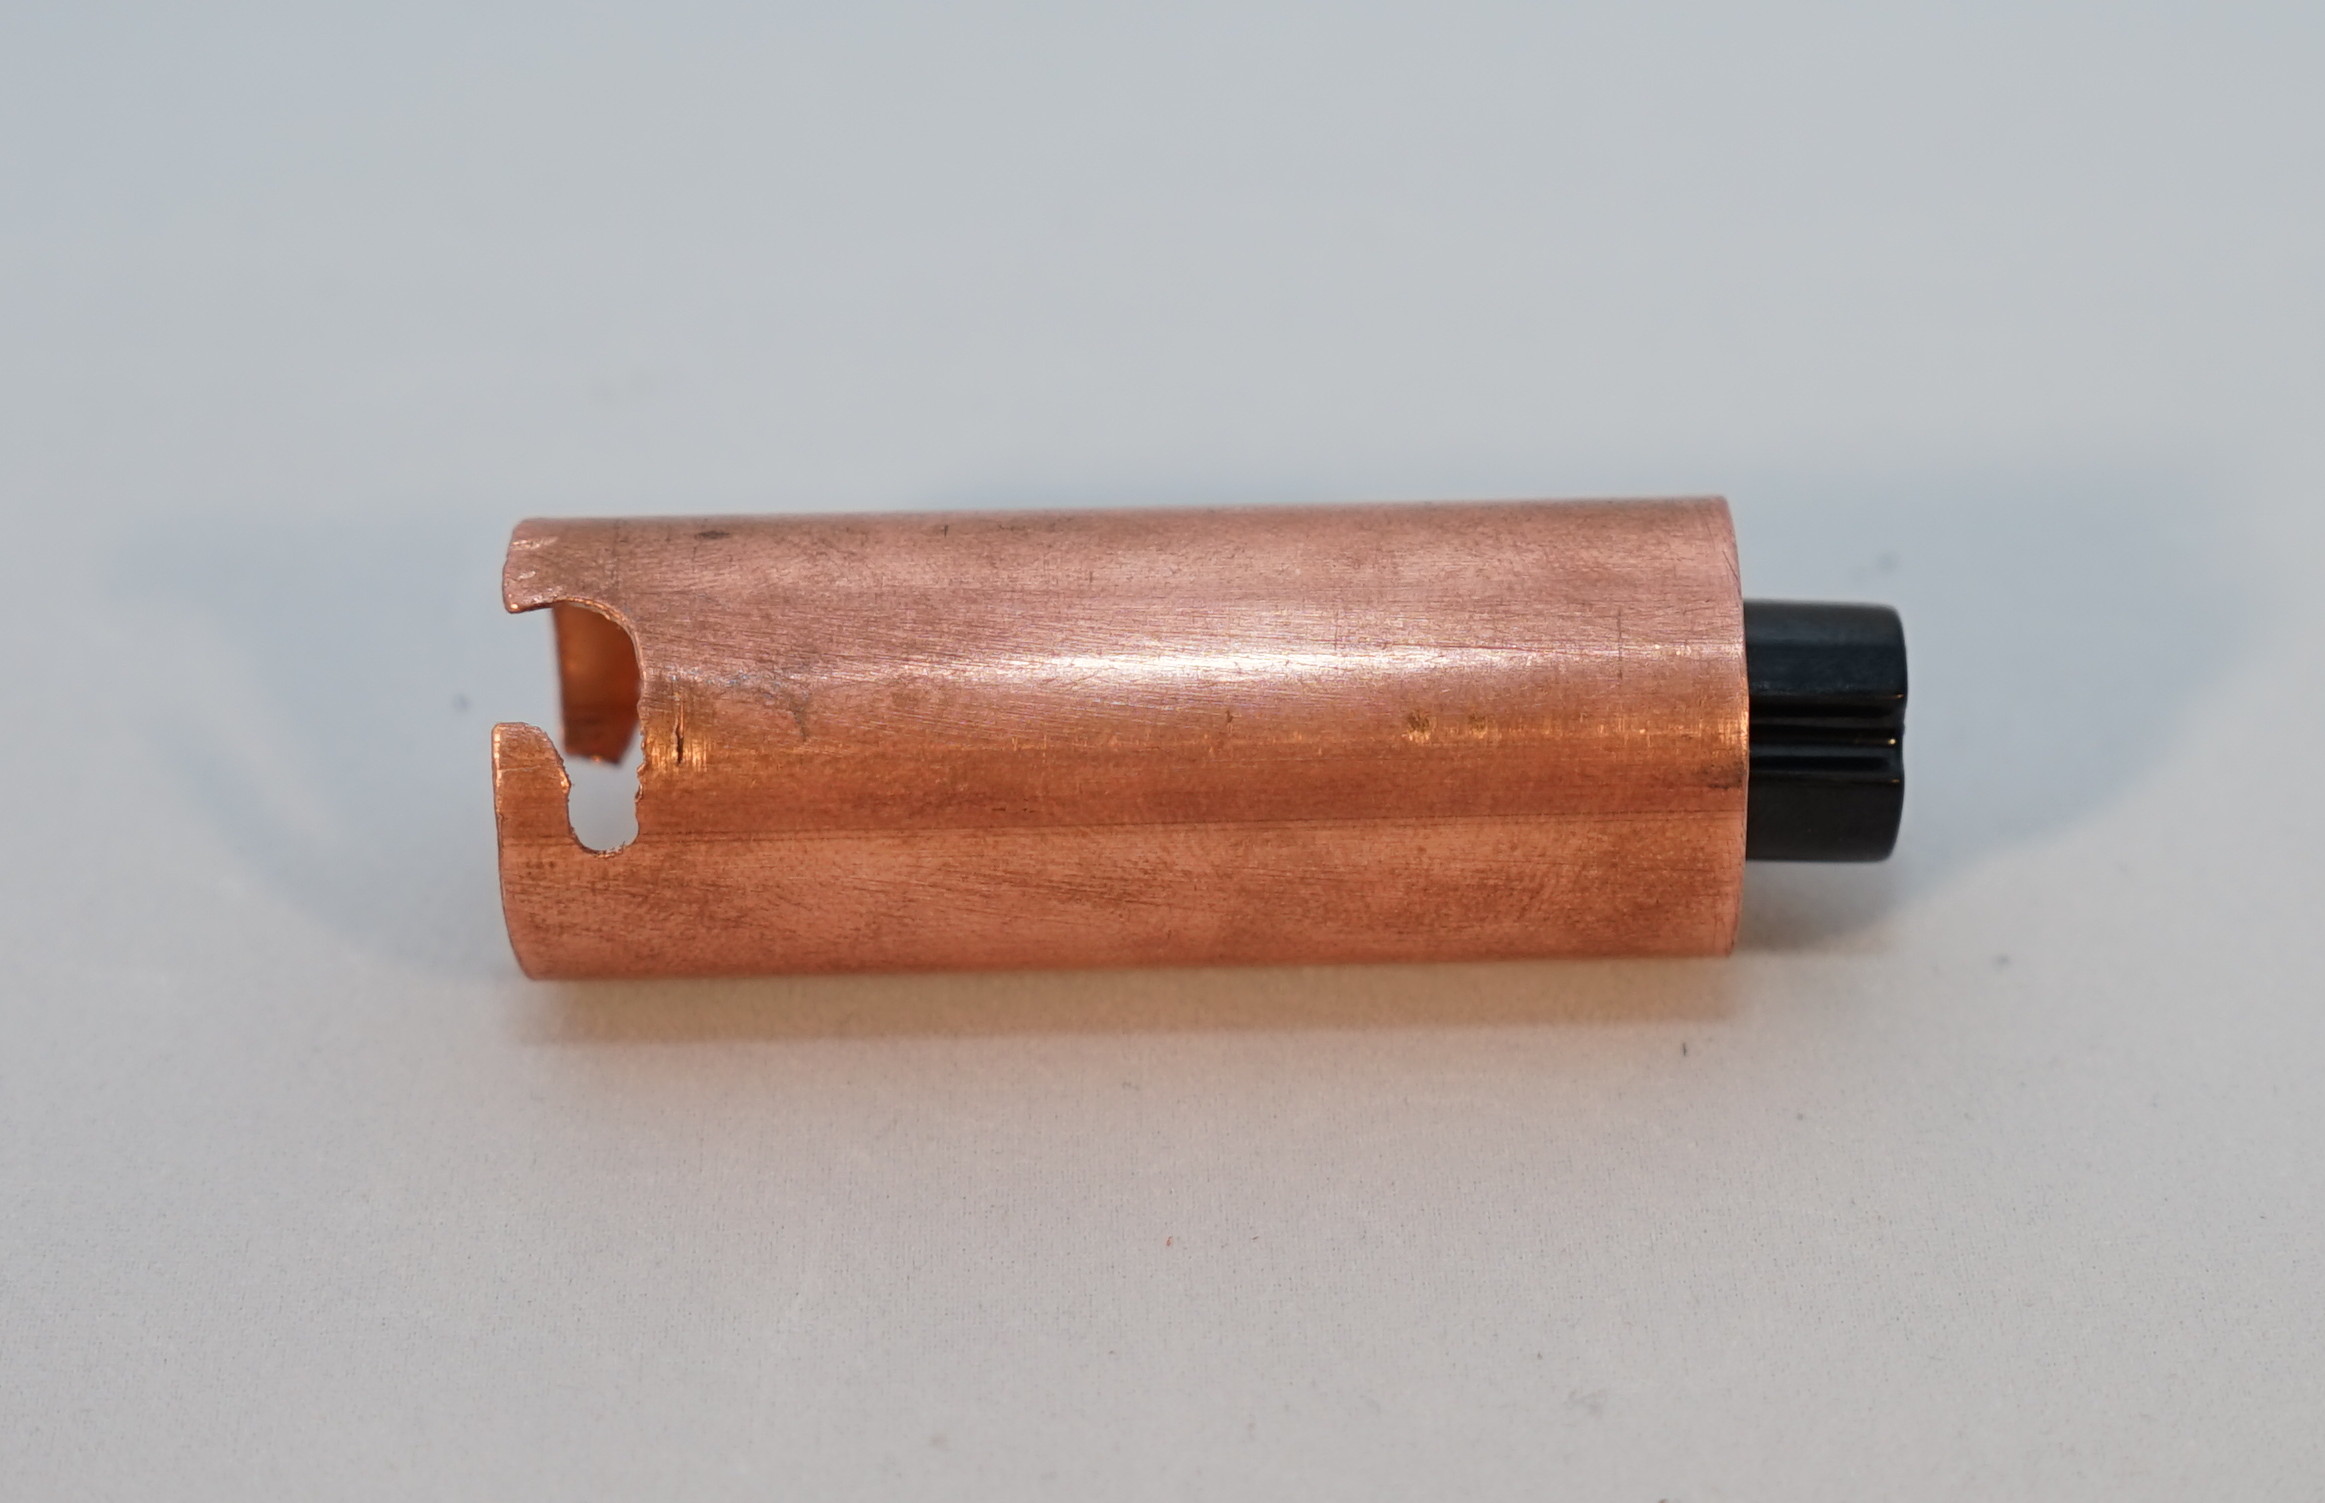 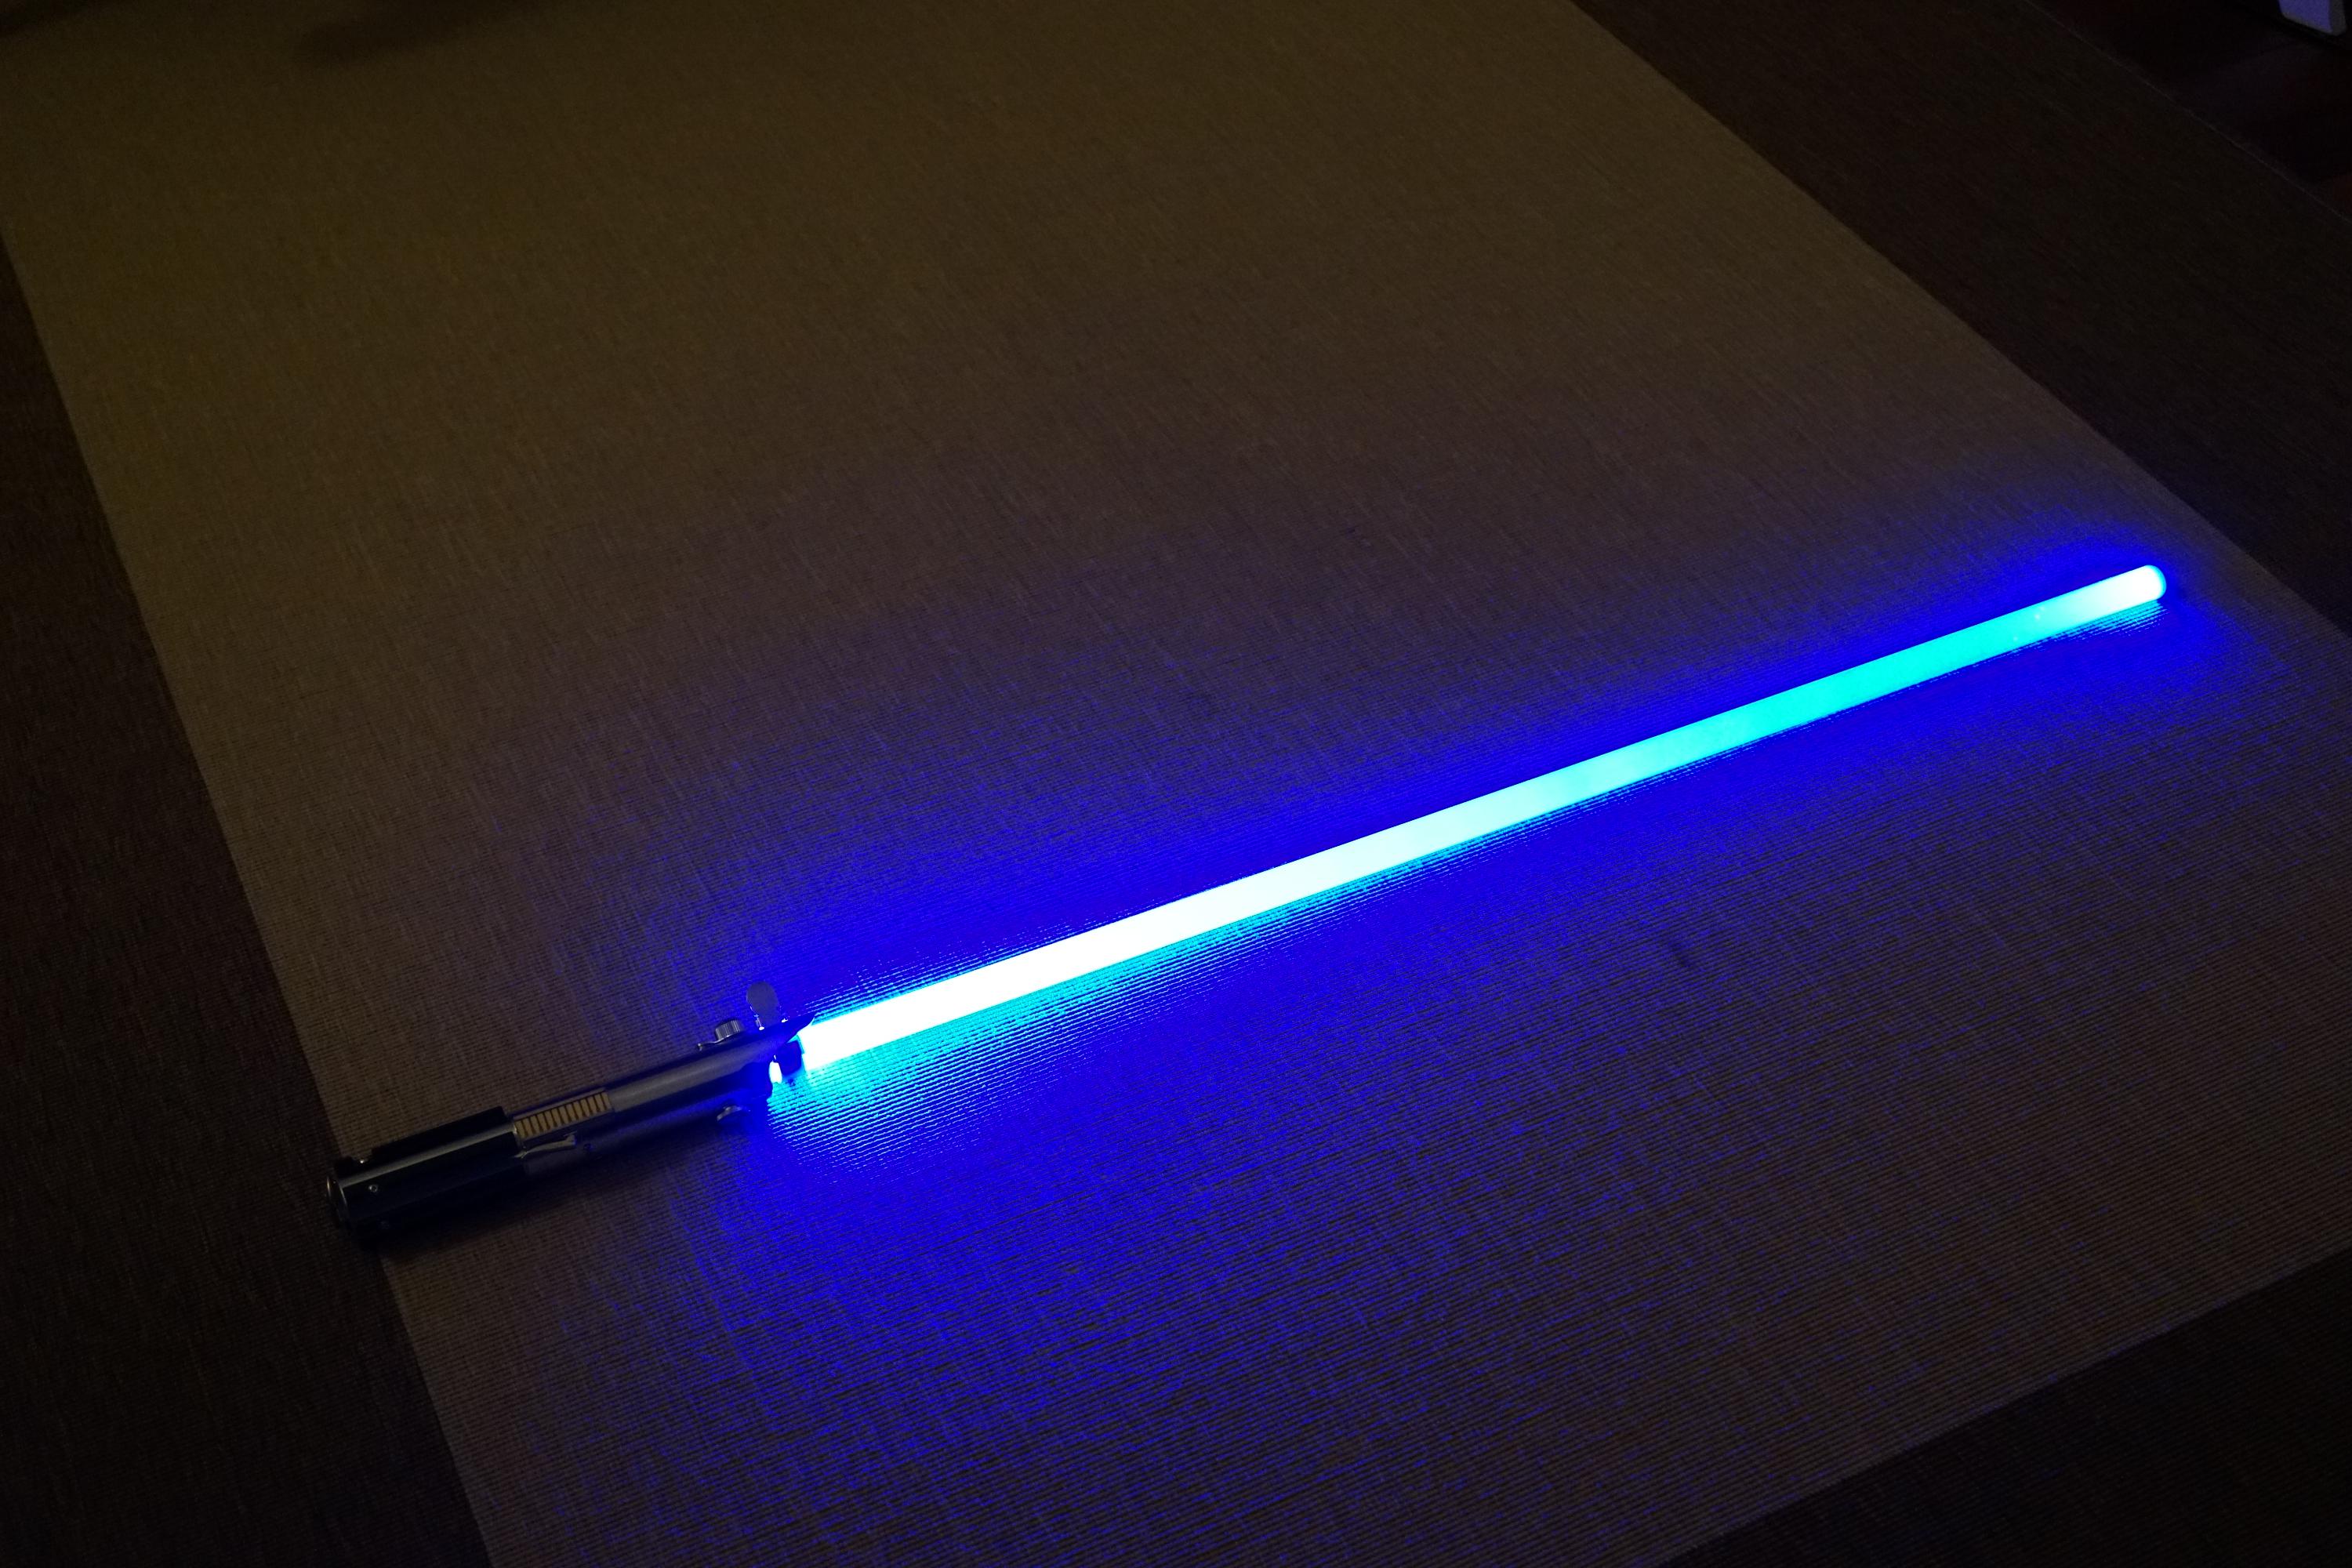 Problems? Questions? Suggestions? Check out The Crucible. Last modified: March 29th, 2021 - Design by Monica & Fredrik Hübinette |
|||||||||||
