 |
|
|
|

back
|
Charging adapter
|

|
DIY Teensy based lightsaber
 What you'll need:
Putting it together
What you'll need:
Putting it together
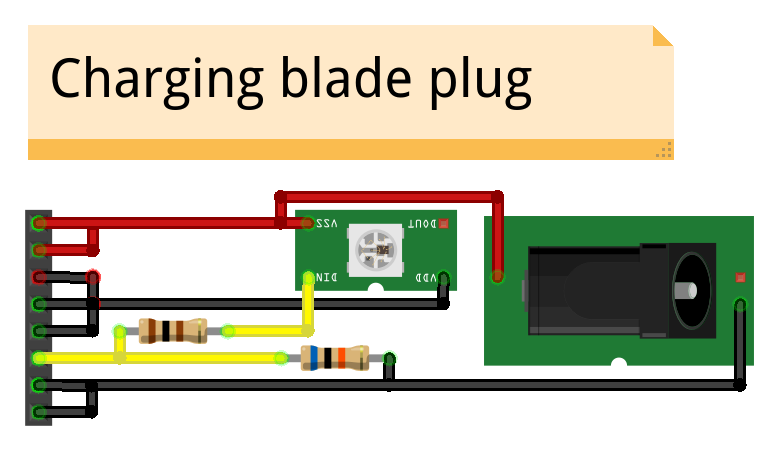
The circuit is pretty simple. The green PCB represents the PL9823 (or any WS2811 compatible LED), the
connector on the left is the 8-pin aviation connector and the connector on the right is the 2.1mm power plug.
In my configuration, pin 1 in the aviation connector is the bottom pin in the circuit diagram. You can do something
different if you like, as long as it's the same in the hilt and in the blades.
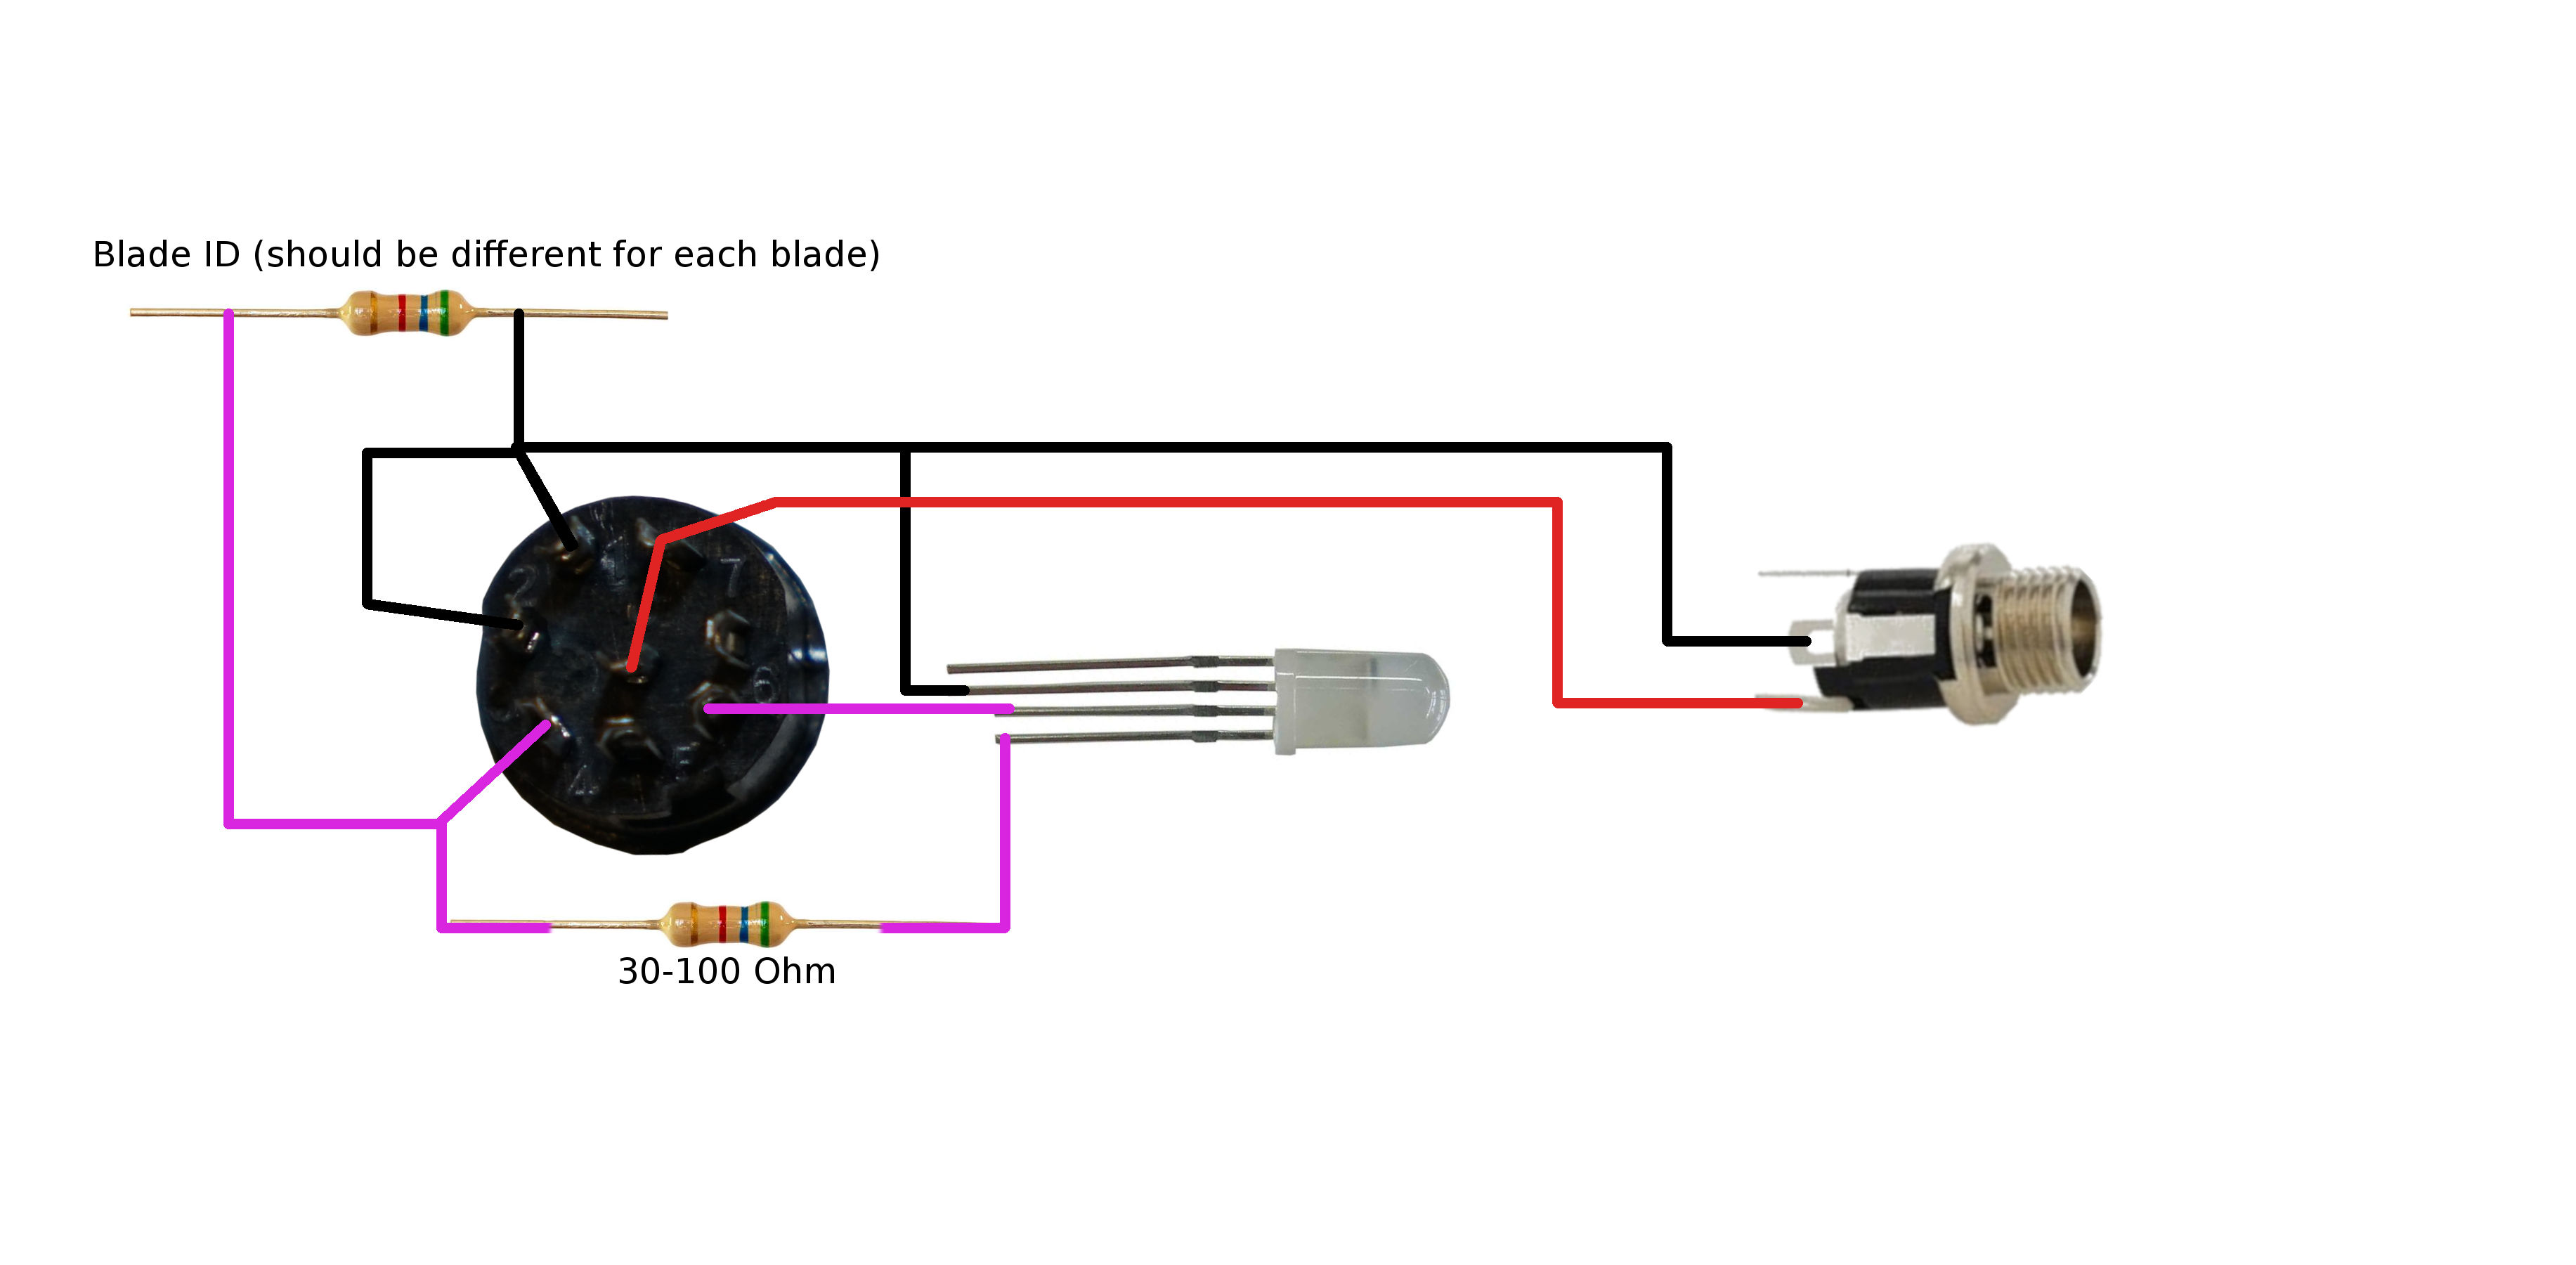
 Here is a view of how I hook it up to the aviation connector.
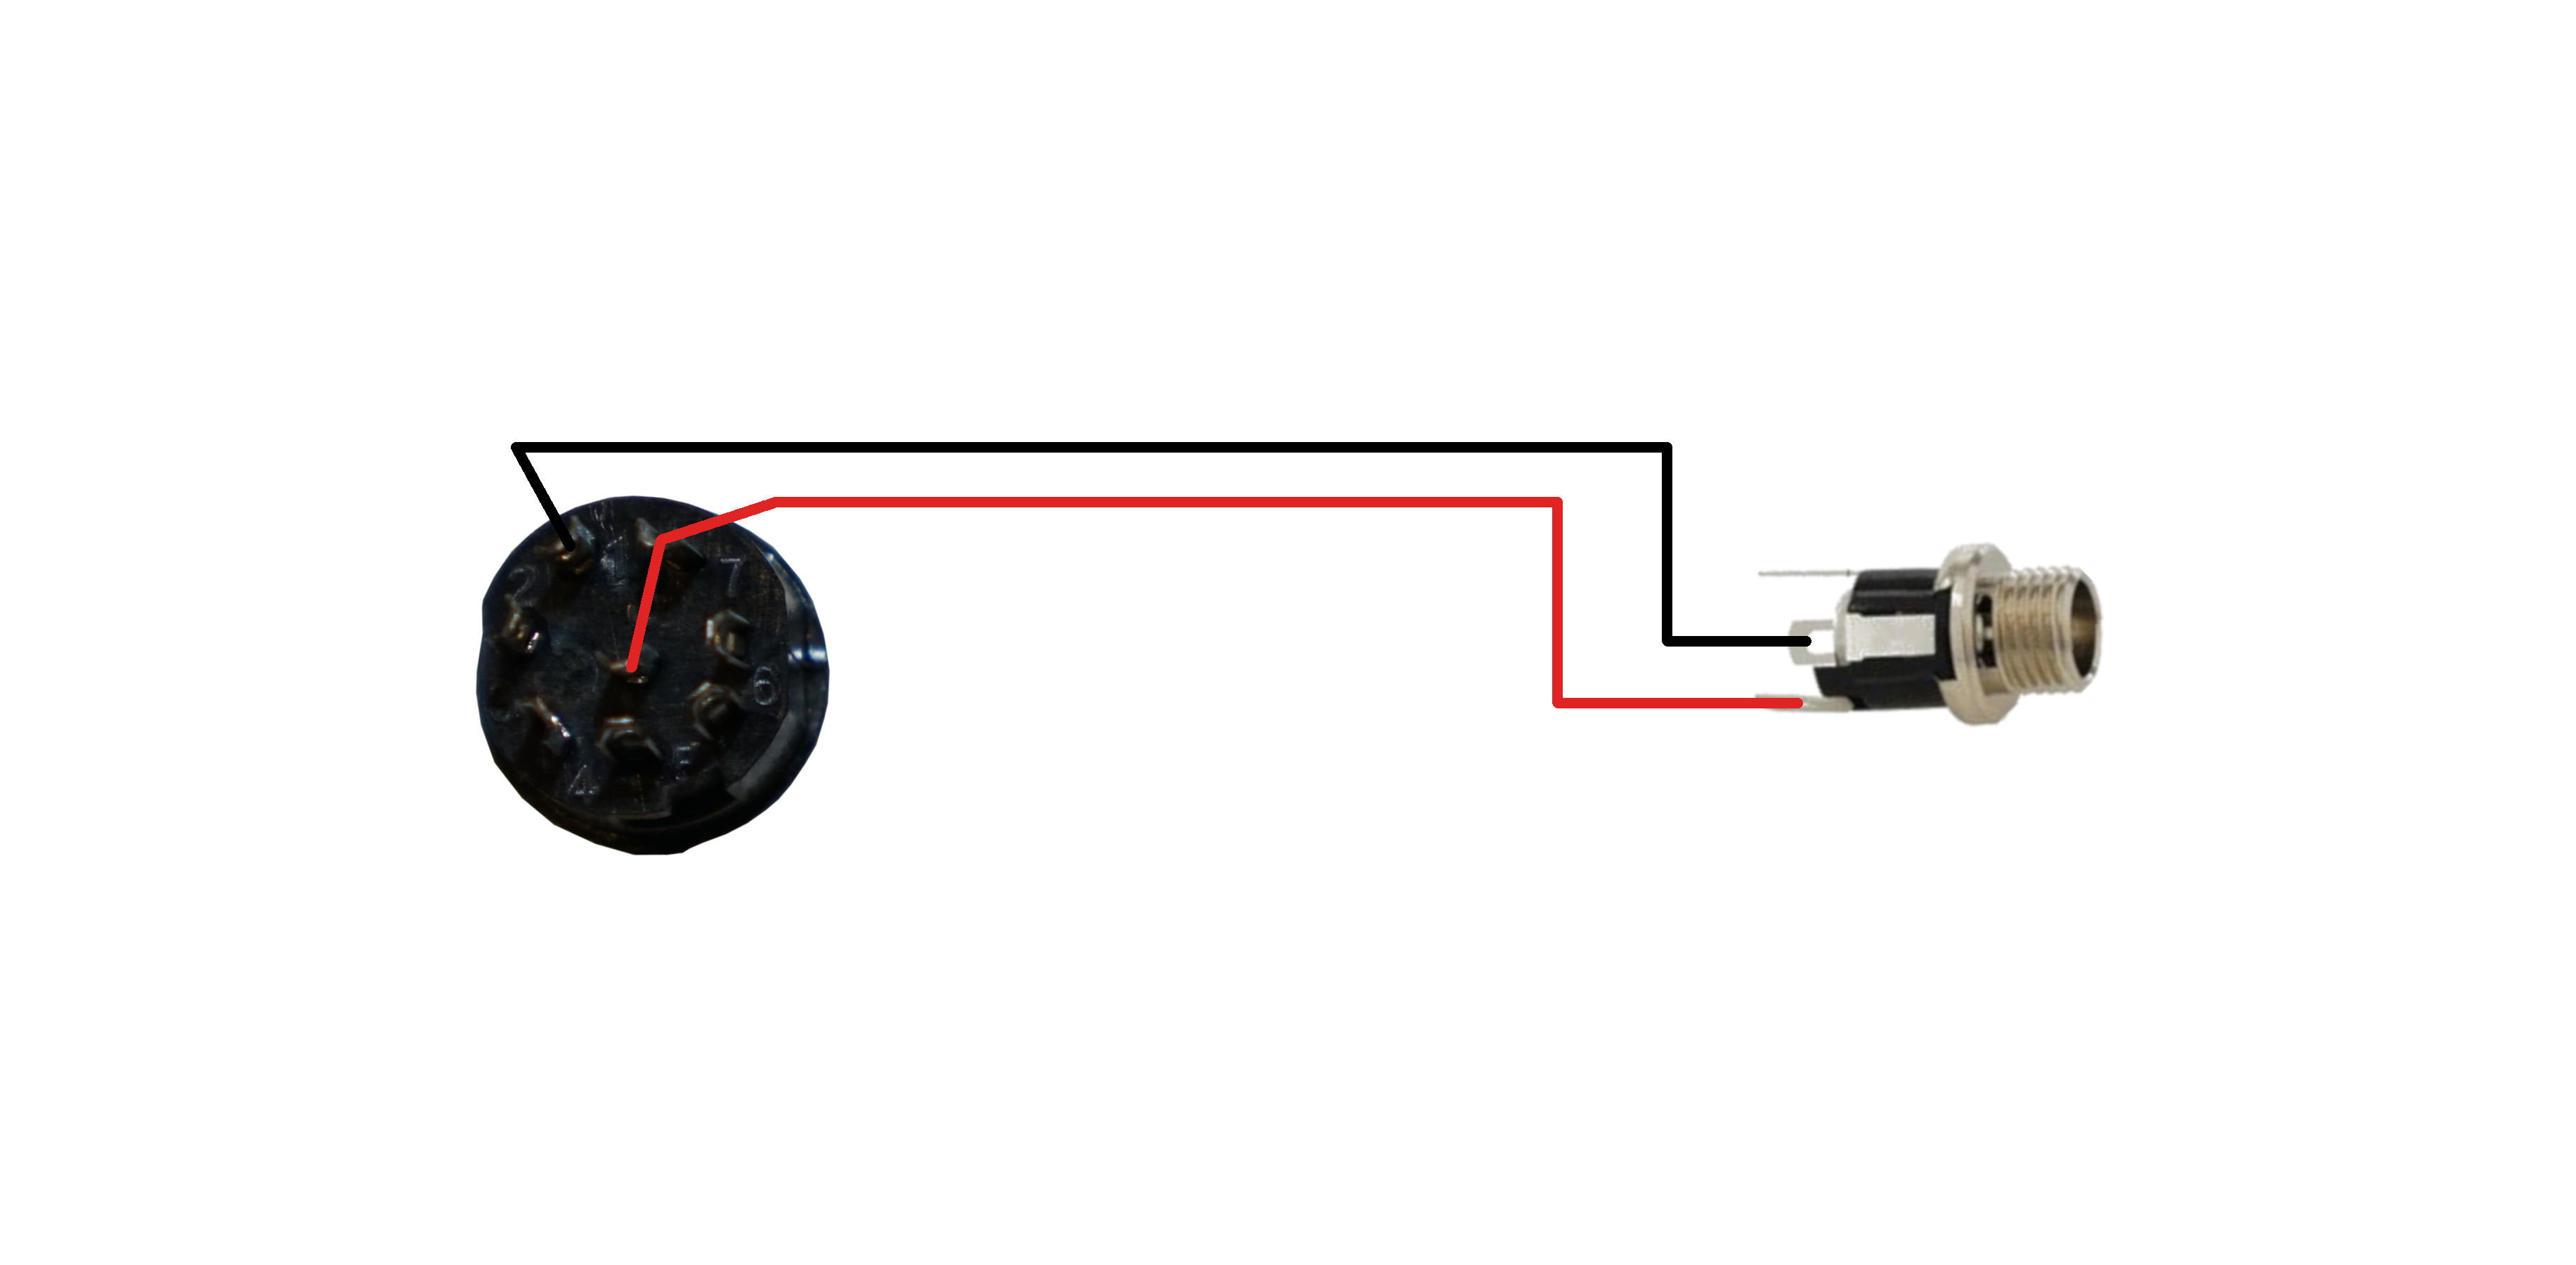
 This is a a simpler charge adapter.
It doesn't have an indicator light, and doesn't play a sound when you
plug it in, because it leaves the electronics in the saber off while
charging. This can be helpful as running the electronics can interfere
with the charging in some cases.
This is a a simpler charge adapter.
It doesn't have an indicator light, and doesn't play a sound when you
plug it in, because it leaves the electronics in the saber off while
charging. This can be helpful as running the electronics can interfere
with the charging in some cases.
 The following picture shows how the blade identification resistor fits snugly in the connector itself.
and also provides the connection between pin 1 and 2.
The following picture shows how the blade identification resistor fits snugly in the connector itself.
and also provides the connection between pin 1 and 2.
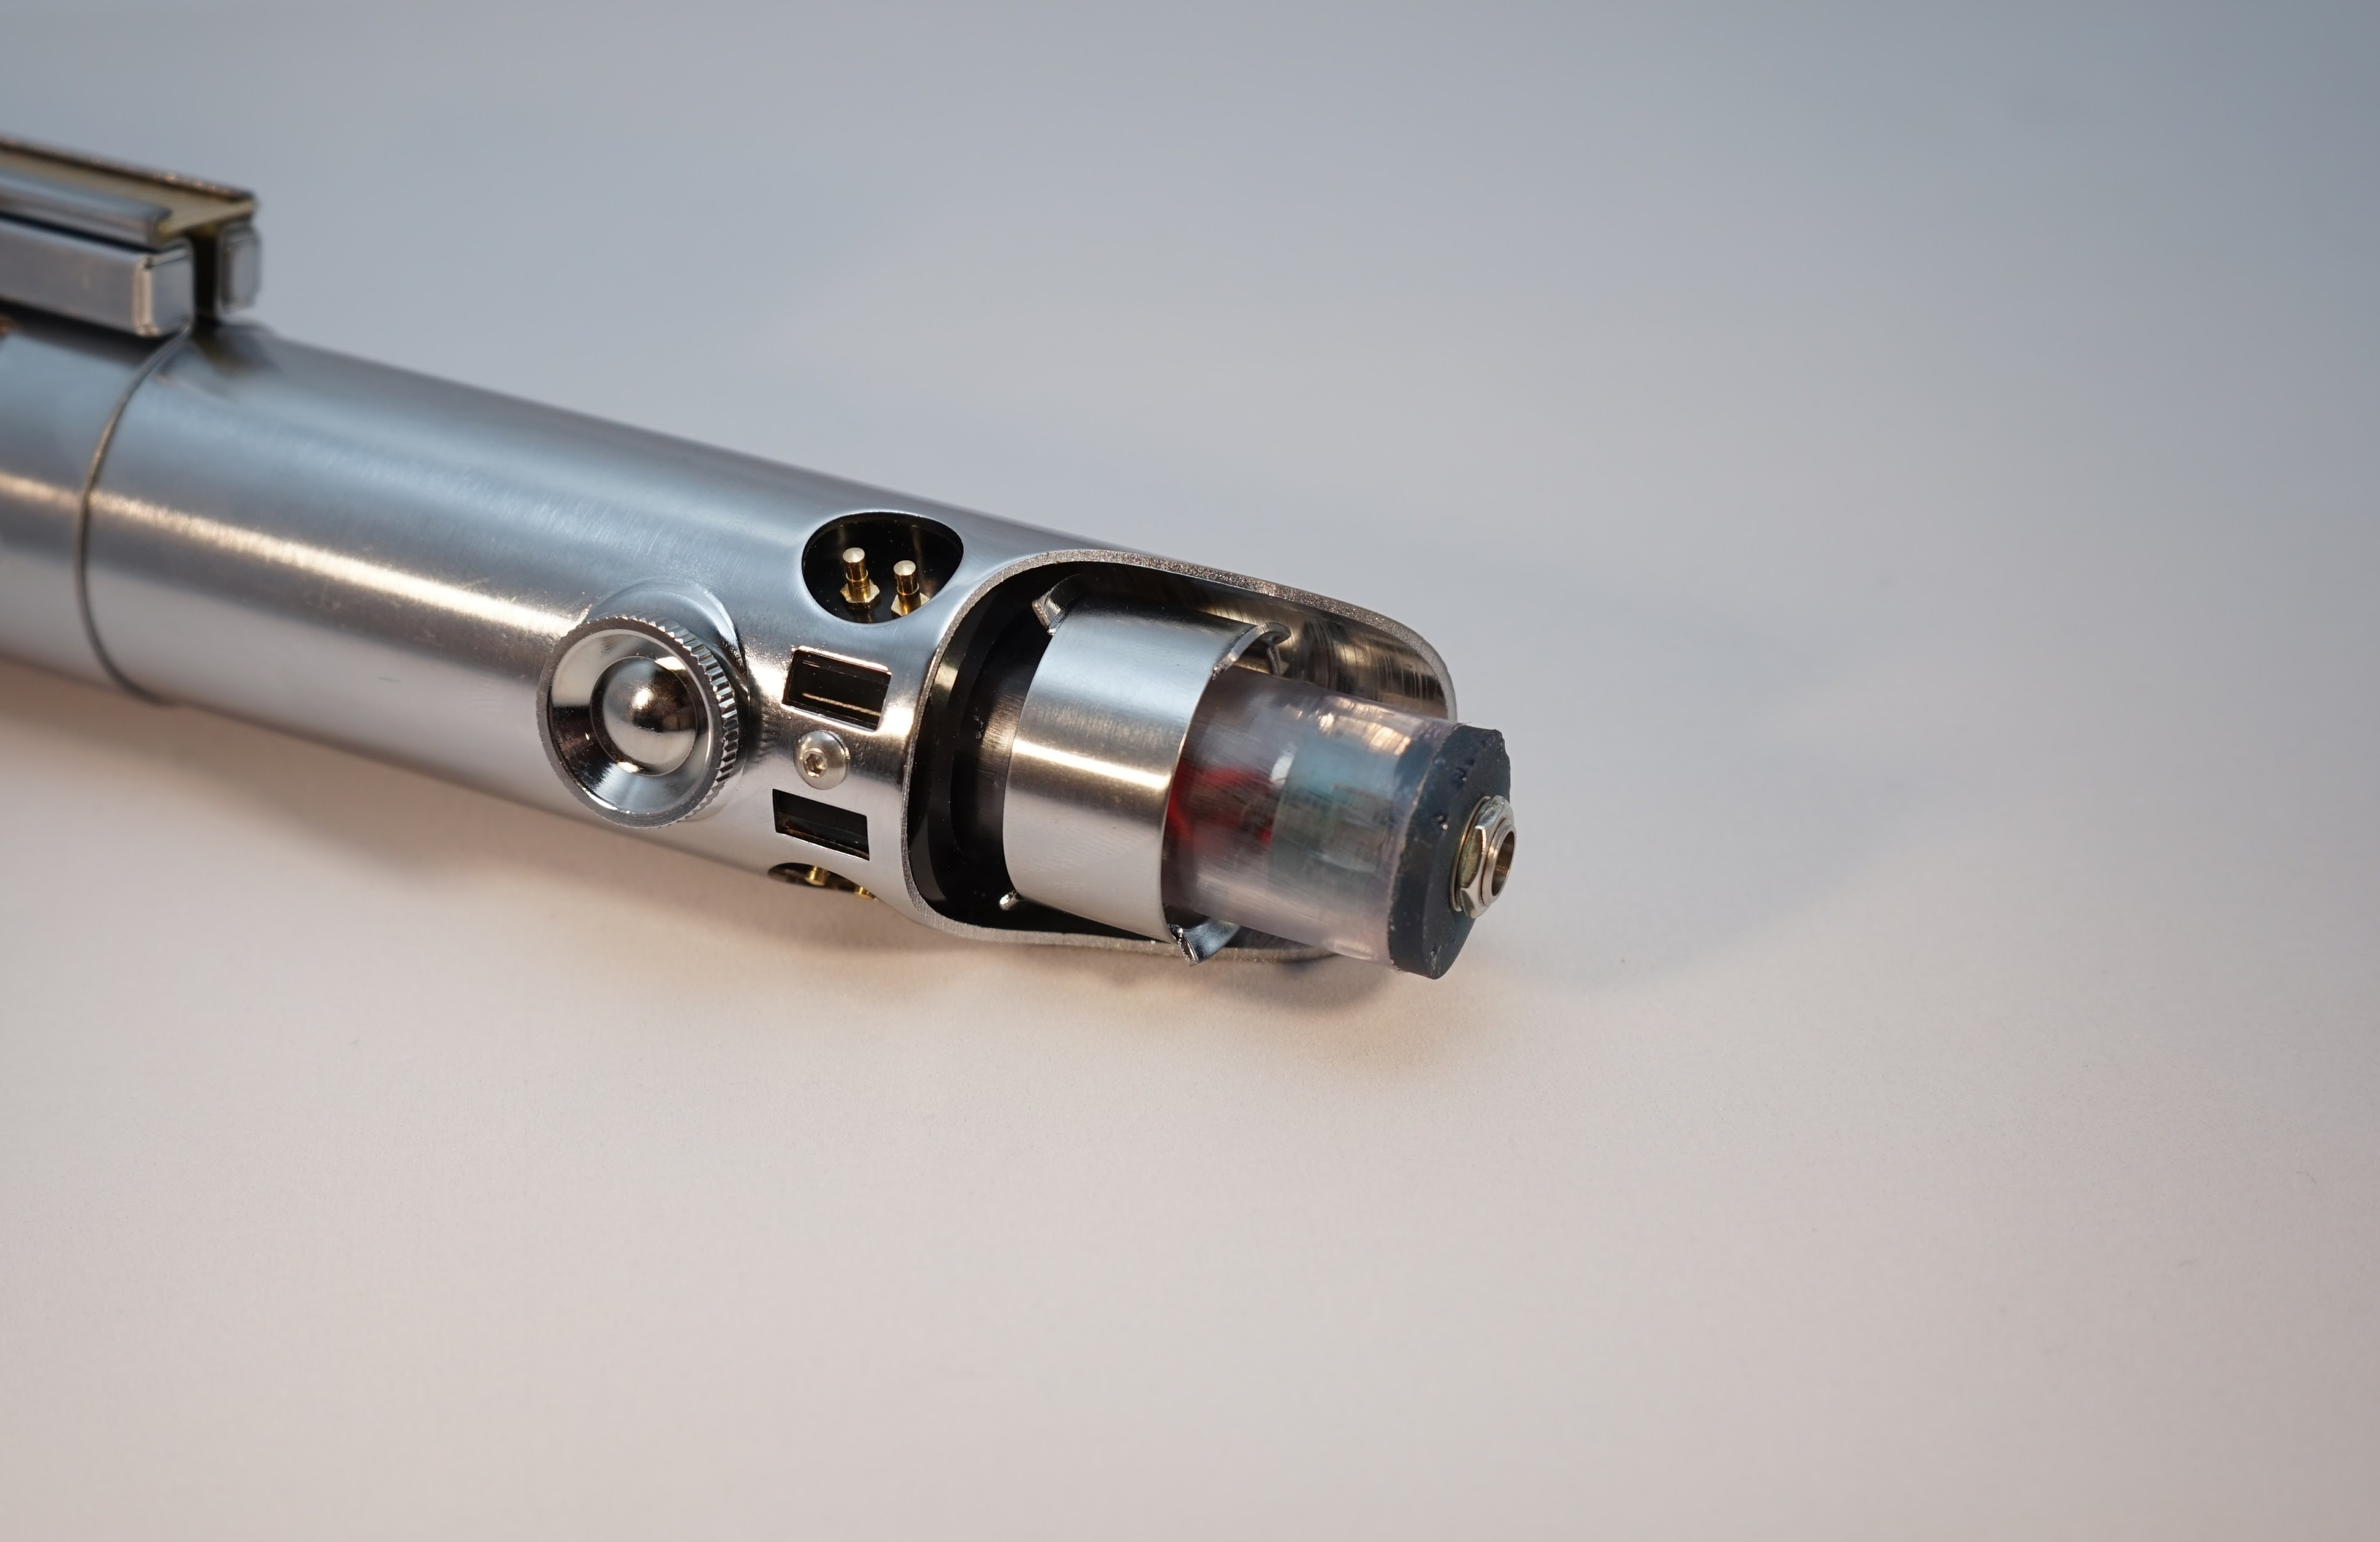
 When it's done, it should look something like this:
Problems? Questions? Suggestions? Check out The Crucible.
This page has been accessed 13,345 times since
July
26th,
2016.
Last modified:
March
29th,
2021
- Design by
Monica &
Fredrik
Hübinette
|
|
|
|
|
