This page is about the lightsabers I built. It contains all the information needed for someone
else to build something like it.
This lightsaber design is 100% open-source, supports a variety of blade types and and is
built from easy-to-obtain materials. It is not a "reveal" type light saber since that doesn't
really interest me, and because there just isn't any space left in the hilt. The build instructions
is split out into several pages, which can be accessed by clicking the headlines below.
Proffieboard V1, V2, V3
All-in-one STM32L4-based lightsaber electronics. It is small, feature-packed and 100% open source.
This board retains all the features from the Teensy based designs, but are smaller and requires
less work to put together. As always, all files and instructions to build these are provided, but
it's probably easier to just buy one.
Teensy-based Electronics V1, V2, V3
The electonics is based on a Teensy 3.2.
It's small, fast, easy to program and has lots of available libraries. Also, I picked it
because it doesn't need an external chip to play audio, which makes latencies low and makes
it possible to synthesize audio in real-time. Version 1 is bulky, but easy to make at home
version 2 is a smaller, integrated solution which is harder to make. V3 is a minor improvement
upon V2 with a 3W digital amplifier. All files
and instructions required to build either one is provided, but for version two and three
my recommendation is to find a place to buy it instead.
ProffieOS,lightsaber and thermal detonator software
The software is open-source and can easily be modified to do anything you want. If
you're not a programmer, I can probably add the feature for you, just contact me on
the The Rebel Armory forum.
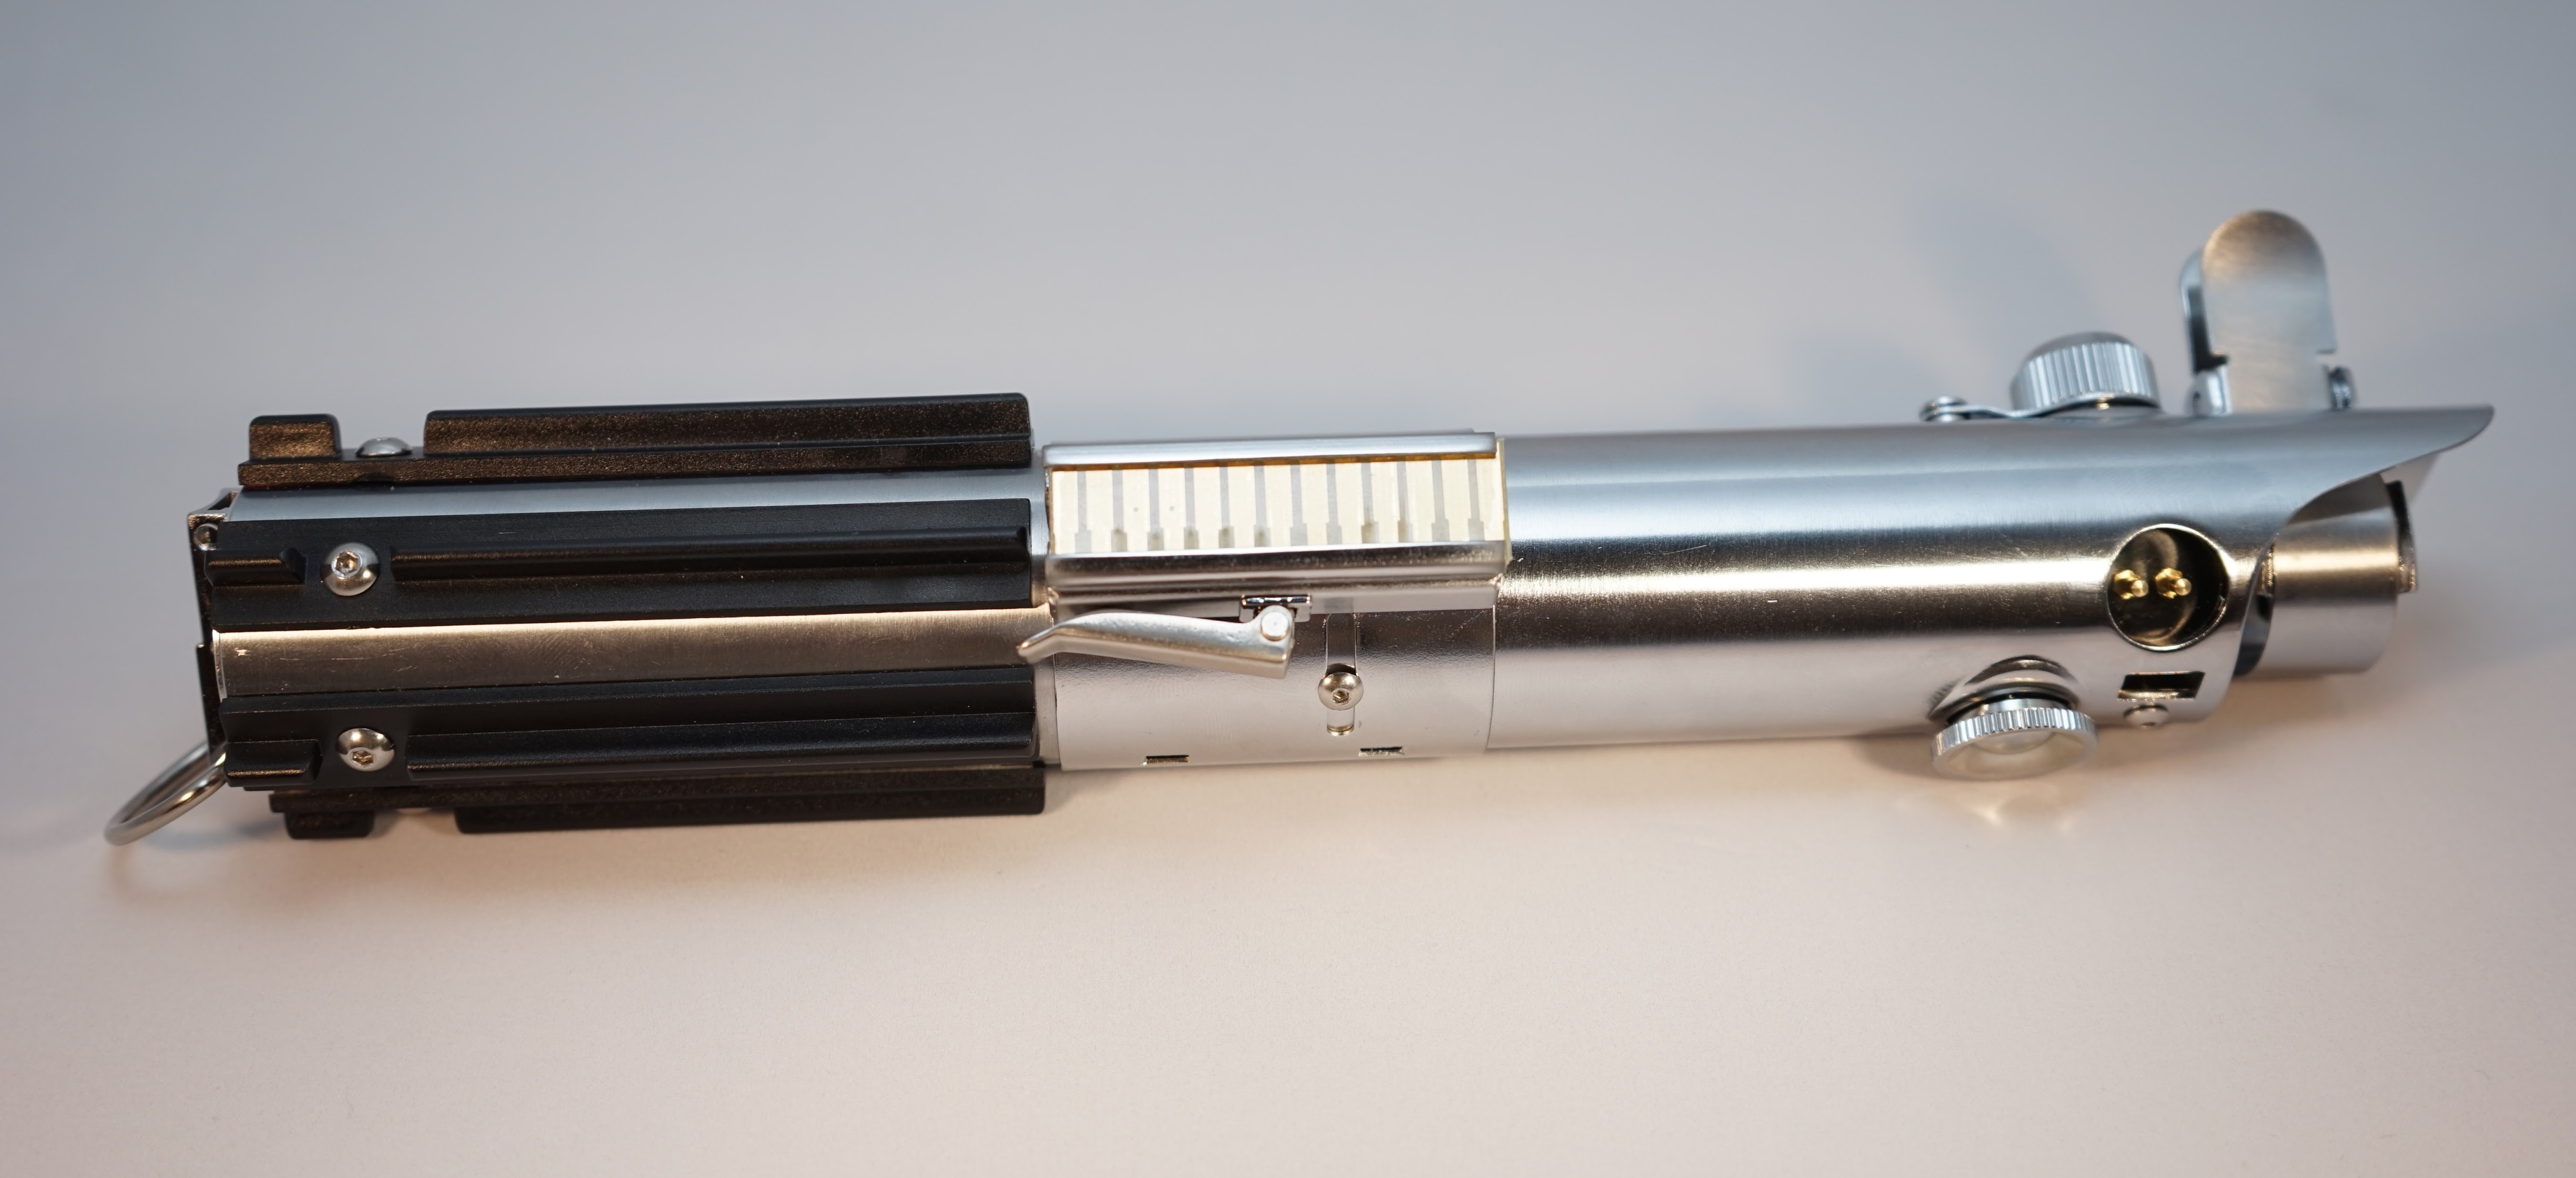
TeensySaber Graflex installation
The hilt I used is a Graflex 2.0, a prop made to look like the Graflex flash gun that
was used for Lukes lightsaber in Star Wars. This hilt has very limited space, so if the electronics
parts can fit in here, it can probably fit in other hilts as well. My saber doesn't have a "reveal"
feature, where you can see some sort of glowing crystal if you open up the saber. I wasn't
particularly interested in this feature, and there wasn't enough room for it.
ProffieBoard V2 K4 installation
This is my new favorite saber, it is brighter, louder, and has a lot of fun
presets. It also includes several helper circuit boards, with links and
sources.
Charging Adapter
The charging adapter lets you charge the battery in the hilt without opening the saber.
It connects to the blade connector and has a regular 2.1mm jack at the other end to plug
in the charger. Of course, you can just wire in a 2.1mm jack the normal way and skip making
a charging adapter.
Supported Blade Types
All the blades below can be built and connected to the same hilt.
LED Star Blade
This LED sits in the hilt and essentially works like a flashlight that lights up the blade.
The blade itself is fairly simple and can be easily replaced if it breaks. The LED star can
be a single color, color + plus flash-on-clash color, RGB or RGBW. Since the Teensy does not
have high-powered LED drivers on board, external FETs or led drivers are required for each
channel, which adds some complication to the build.
LED string blade (not segmented)
LED strings are an array of LEDs throughout the blade. LED strings often provide brigher and
more even illumination than LED stars, but if you break the blade, it's a lot of work to fix
an LED string. String blades can also be made out of RGB LEDs, in which case they would be
wired up the same as an RGB LED star.
PL9823 string blade
If you want to be able to change color and have the blade "scroll" as you activate the saber,
the PL9823 string blade is a pretty good solution. It is build similar to an LED string blade,
but has a control channel that lets you control each LED individually. Since the PL9823 LEDs
have internal drivers, no extra circutry is needed to drive them. PL9823 LEDs are also called
neopixels or ws2812-compatible. Currently, this is my favorite blade.
WS2811 strip (or compatible) blade
Strips of LEDs can also be used, which simlifies the blade building significantly. However,
because these LEDs are directional, and not diffused, it is difficult to make the illumination
entirely even.
Segmented LED strings
Segmented string blades are now supported with the V2 electronics and V3 electronics, However, I heartily recommend
using a WS2811-compatible string instead.
Demo Video
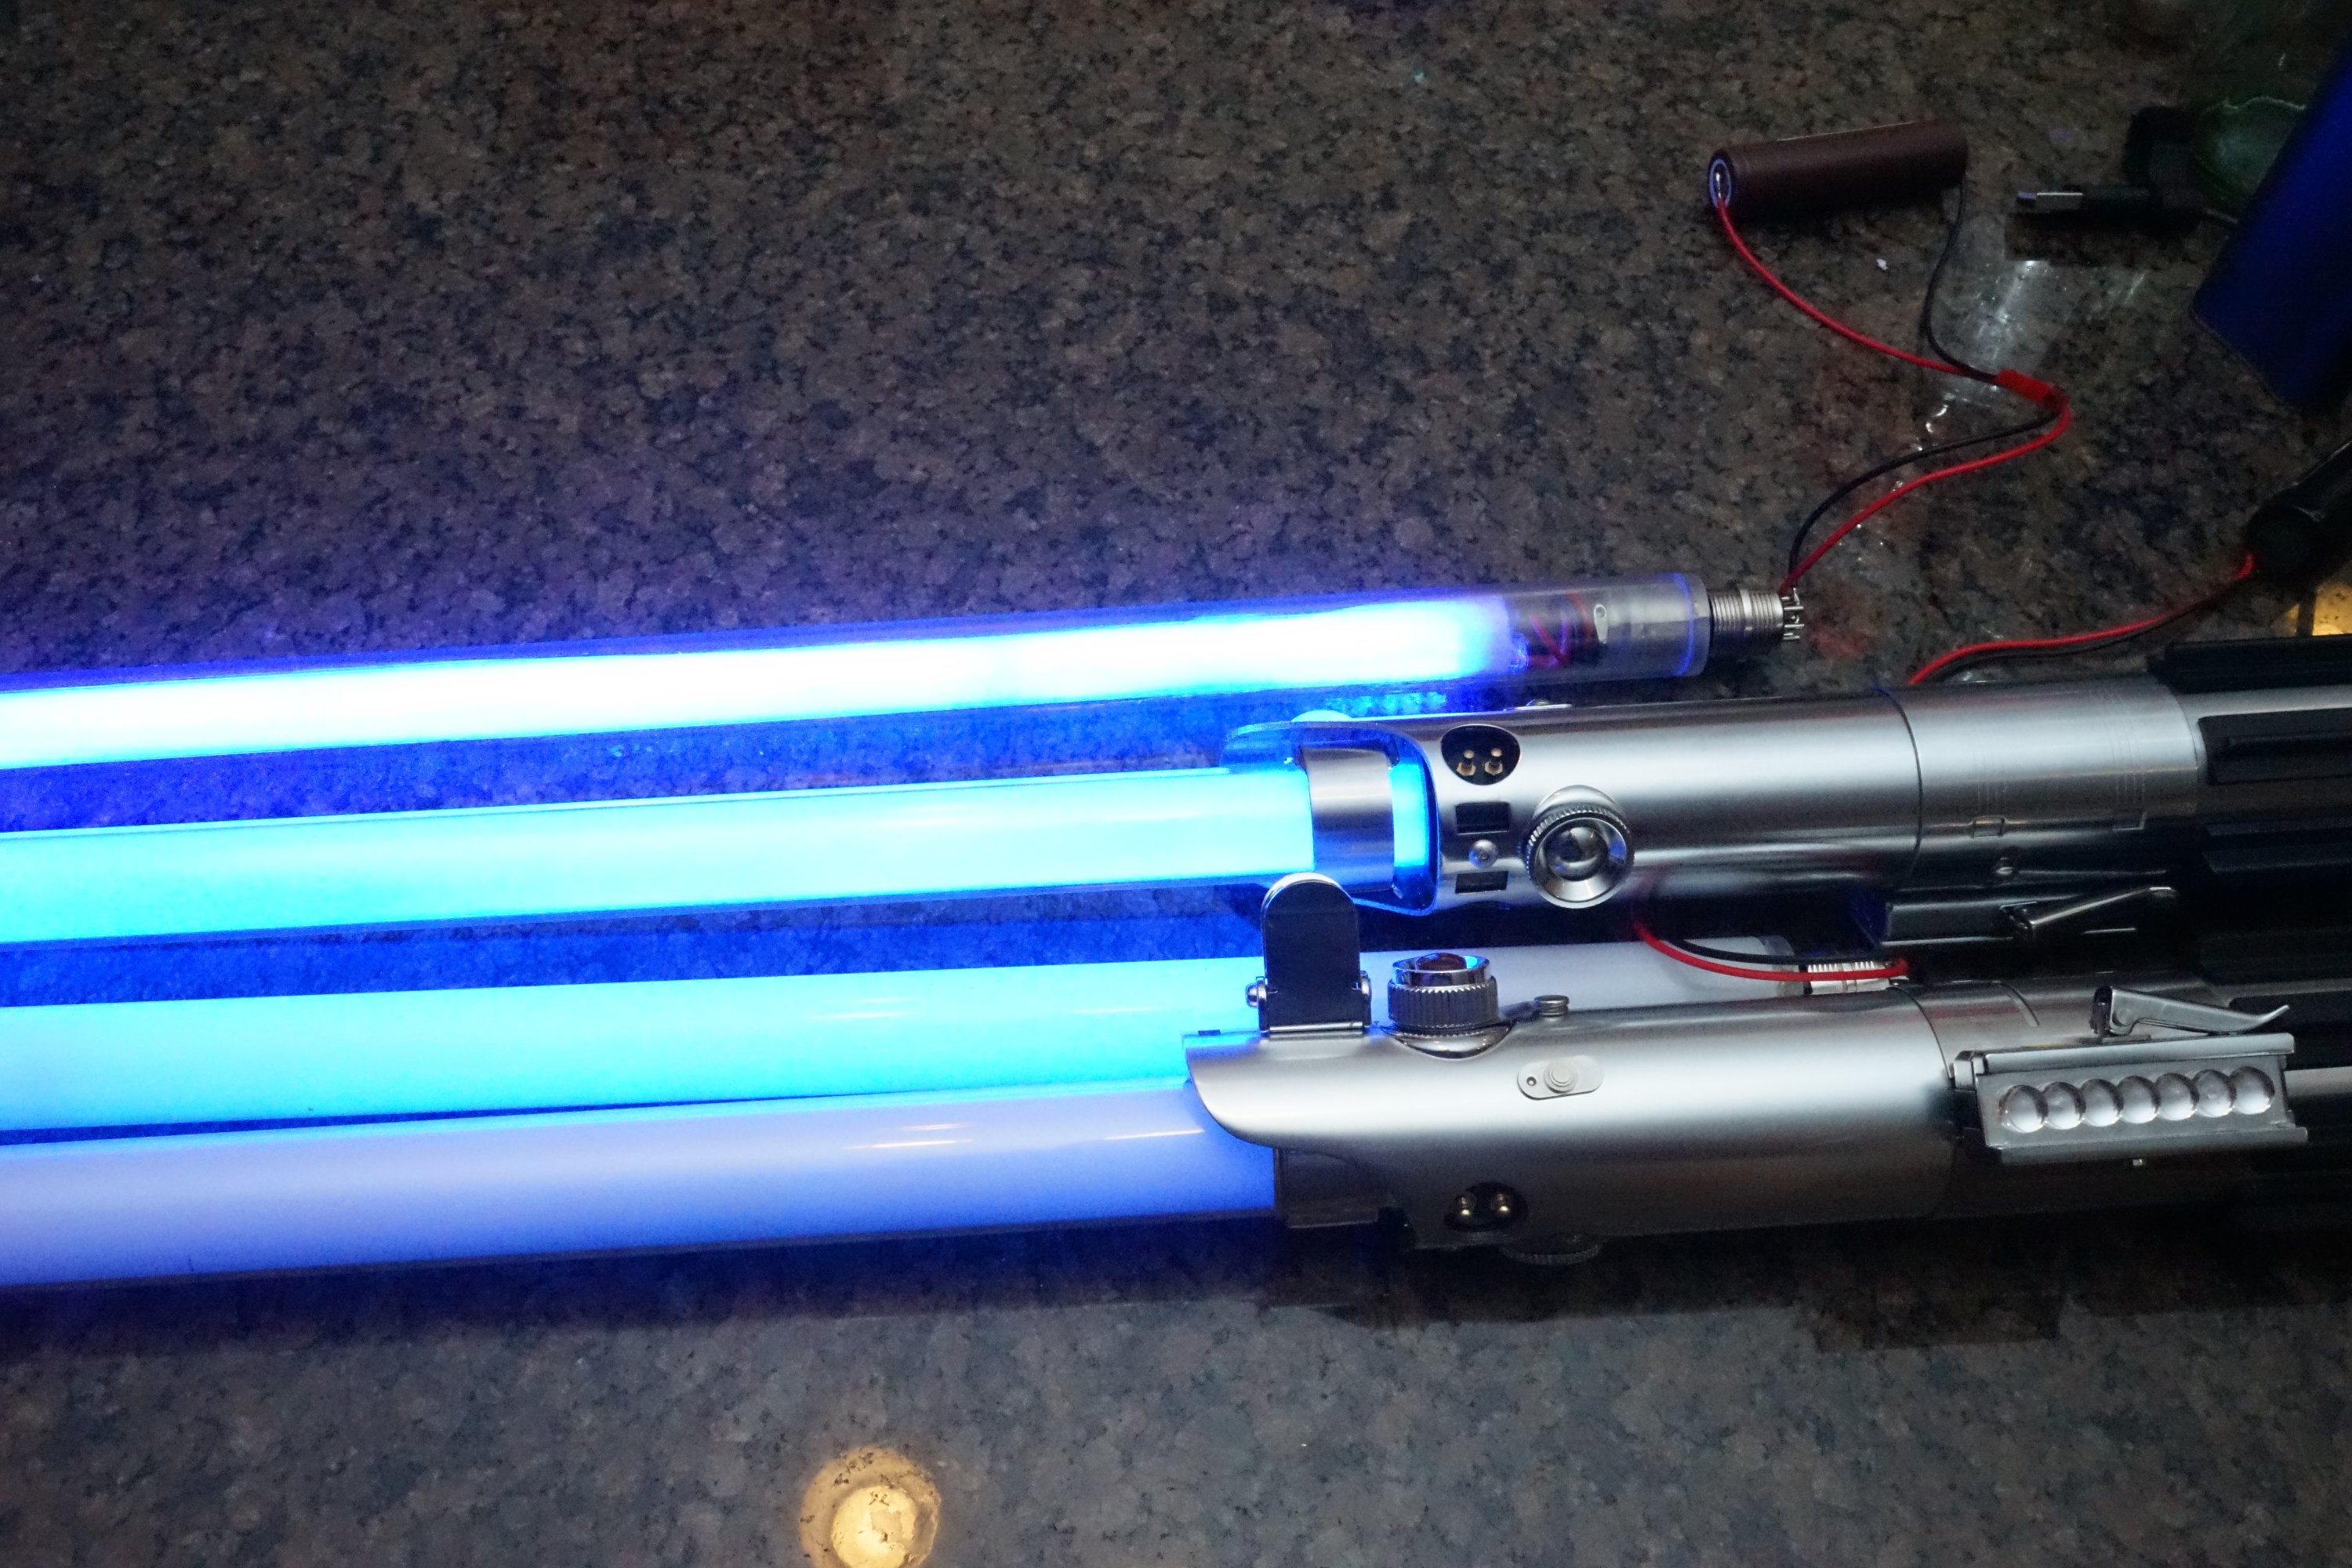
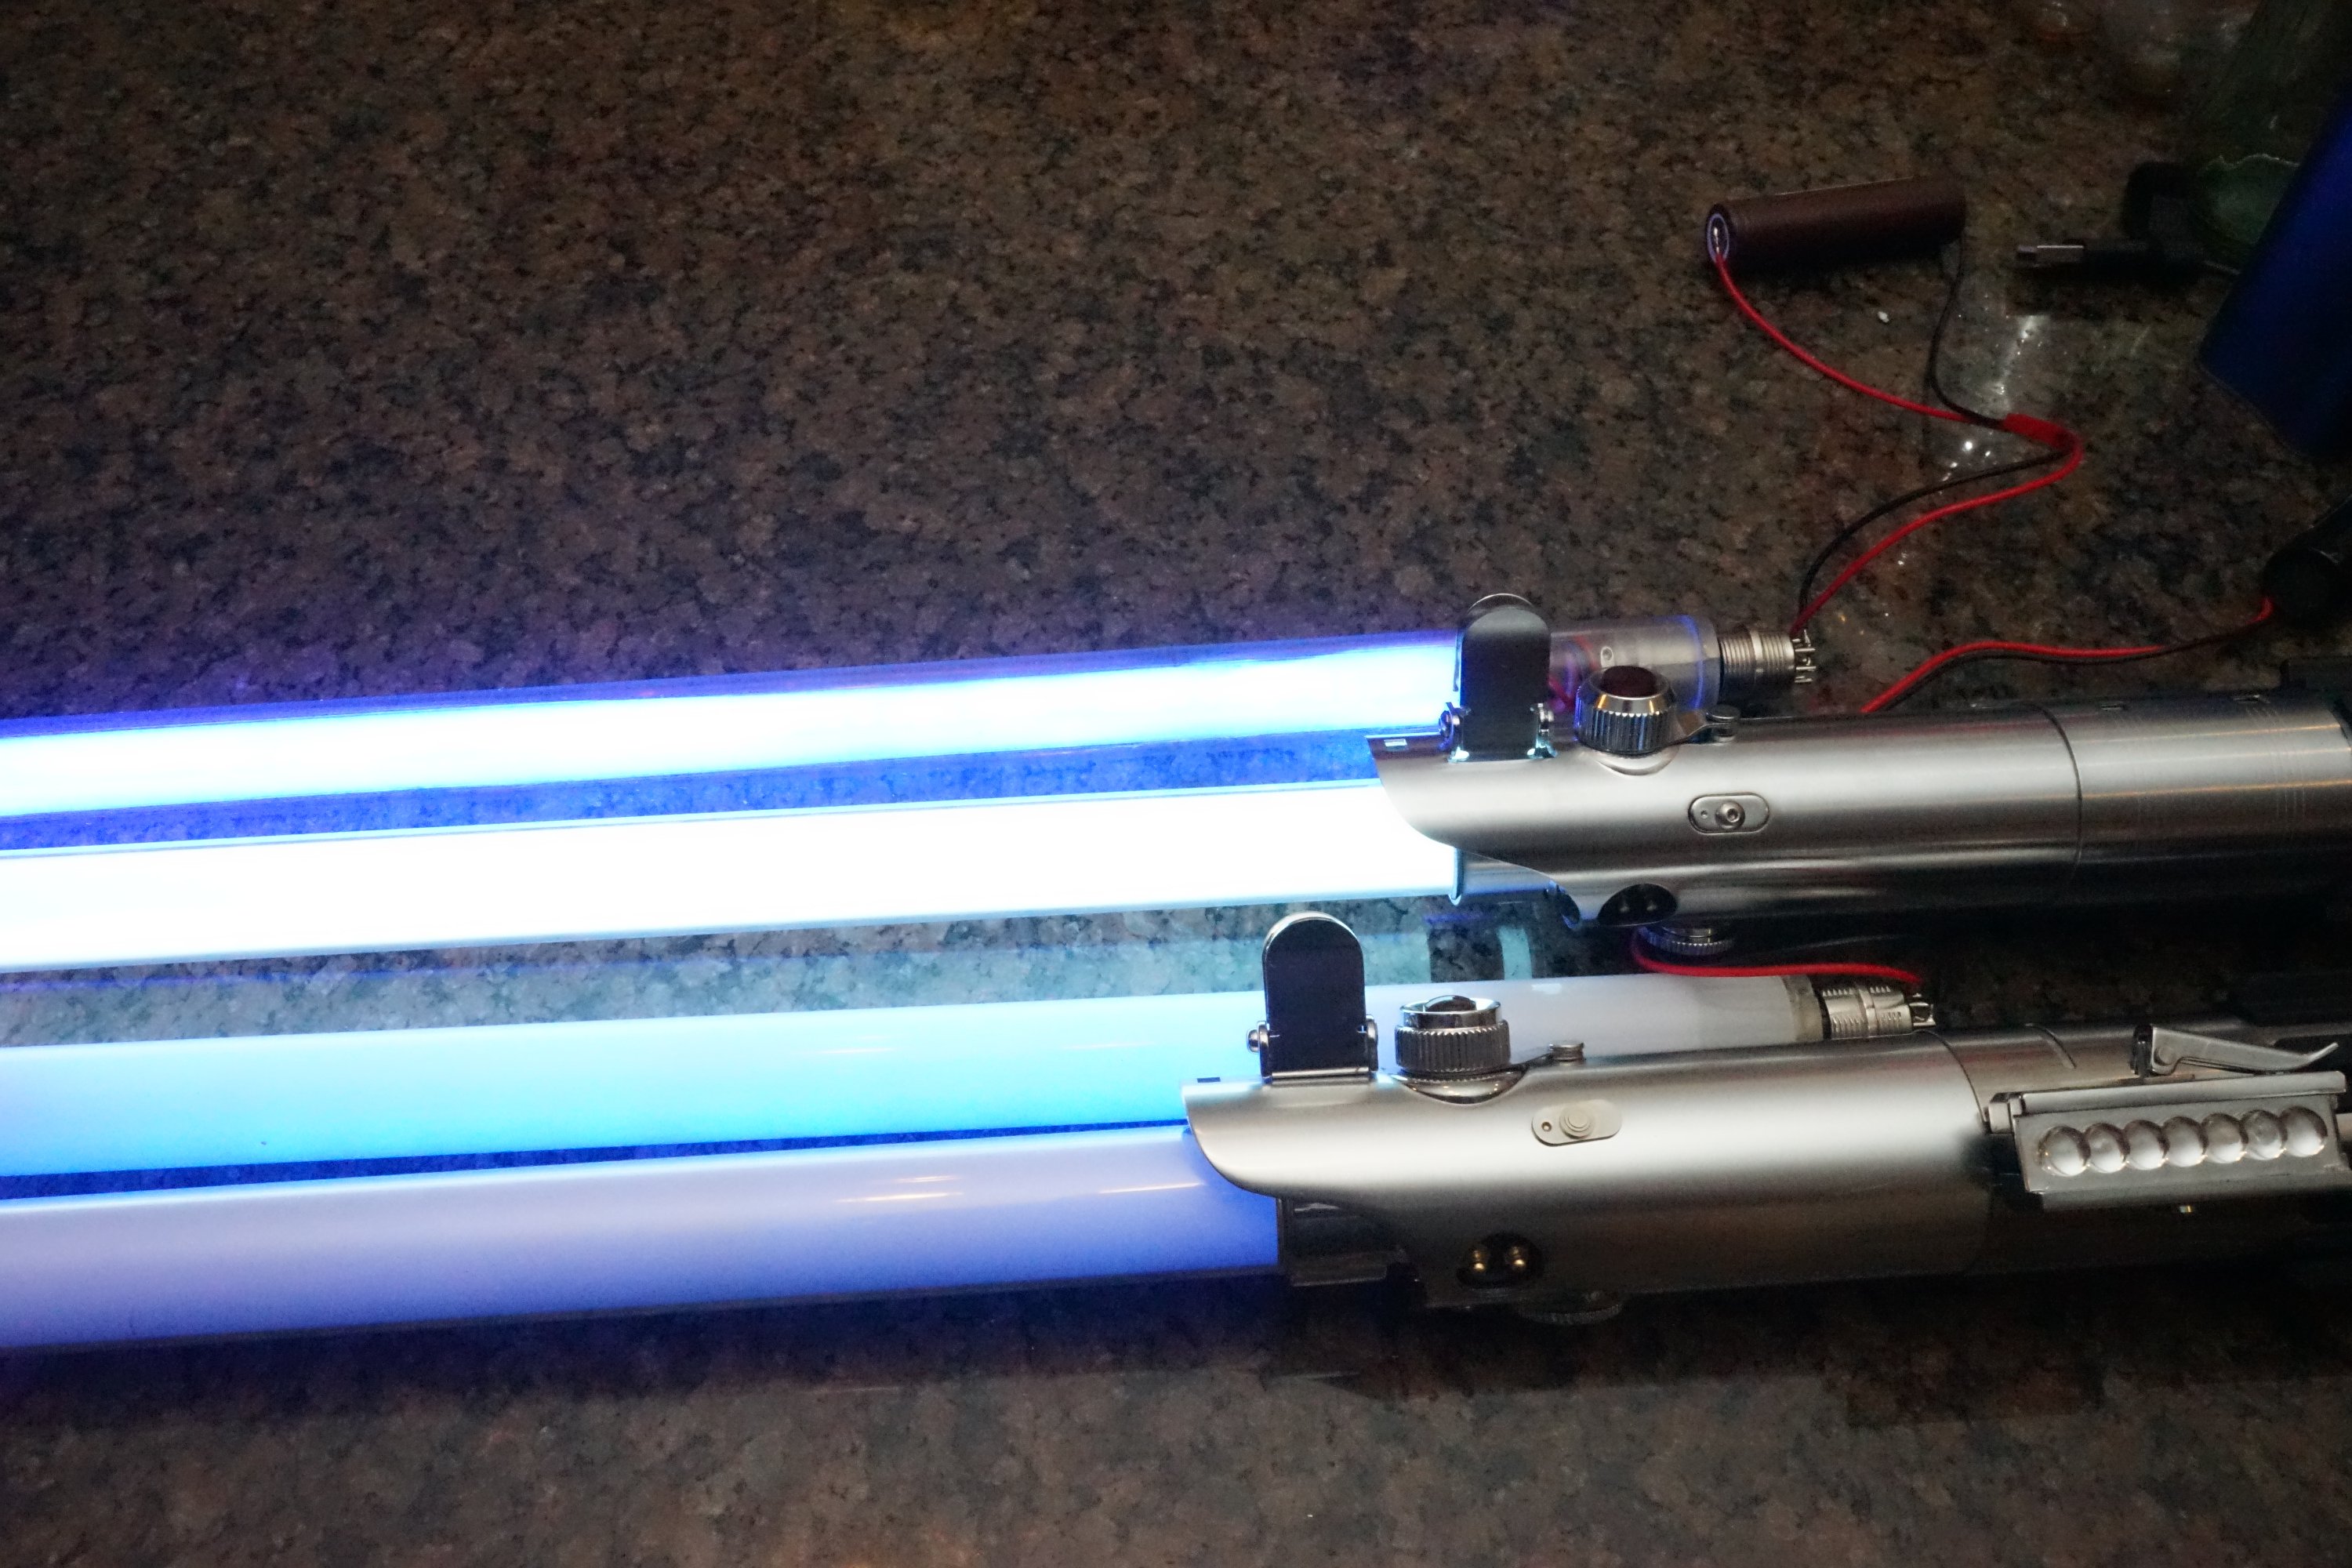
Blade Comparison
Blades, top to bottom:
simple string blade made of ~150 x 30mA, diffused with packing foam only
2 x WS2811 strips, 144 leds / m, packing foam, inner diffuser tube, clear outer tube
97 x PL9823, packing foam, inner diffuser, trans-white outer tube
Black Series Luke Skywalker Force FX Lightsaber
On the left, all blades are blue, on the right, blade (2) is set to white, which makes it much brighter.
Additional Blade Types
These features are currently experimental, as I don't have any
sabers which use these featueres.
APA102 / Dotstar strips
The PJRC prop shield was specifically made to support these kind of strips, and they have
a much faster protocol than PL9823/WS2811/neopixels, so they would be far superior for
POV-writing. However, they share a bus with the sdcard and flash serial chip, which could
cause some problems, and also, I have not found any "slim" versions of these strips, which
means that they are even more difficult to diffuse than the slim SK6811 strips I have used above.
Kylo-style trident blades
Personally I think these are silly, which is why I don't have any, but
there is full multi-blade support, so it should just work.
These pages should contain all you need to know to replicate what I did, or something like it.
If you want to know all the gory details of other things that I tried, and things that whent wrong
while I was coming up with the code, chassis and electonics design, go read my build log.
Problems? Questions? Suggestions? Check out The Crucible.
This page has been accessed 214,529 times since
July
25th,
2016.
Last modified:
April
29th,
2023
- Design by
Monica &
FredrikHübinette