What you'll need:
 Here is how I built the LED string.  Note how each LED is rotate 180 degrees from the previous one? That is so that the data out can connect to the data in on the next LED. During construction, I keep the "-" power rail on top at all times. I bend first and last pin straight out, then I position it so data out will connect with data in on the next LED, then I bend + and - to connect to the right rail. Then I wrap the power pins around the power rails, and finally I bend the data pins to connect together. The remaining pin will still be sticking straight out, and it will tell me how to position the next LED.     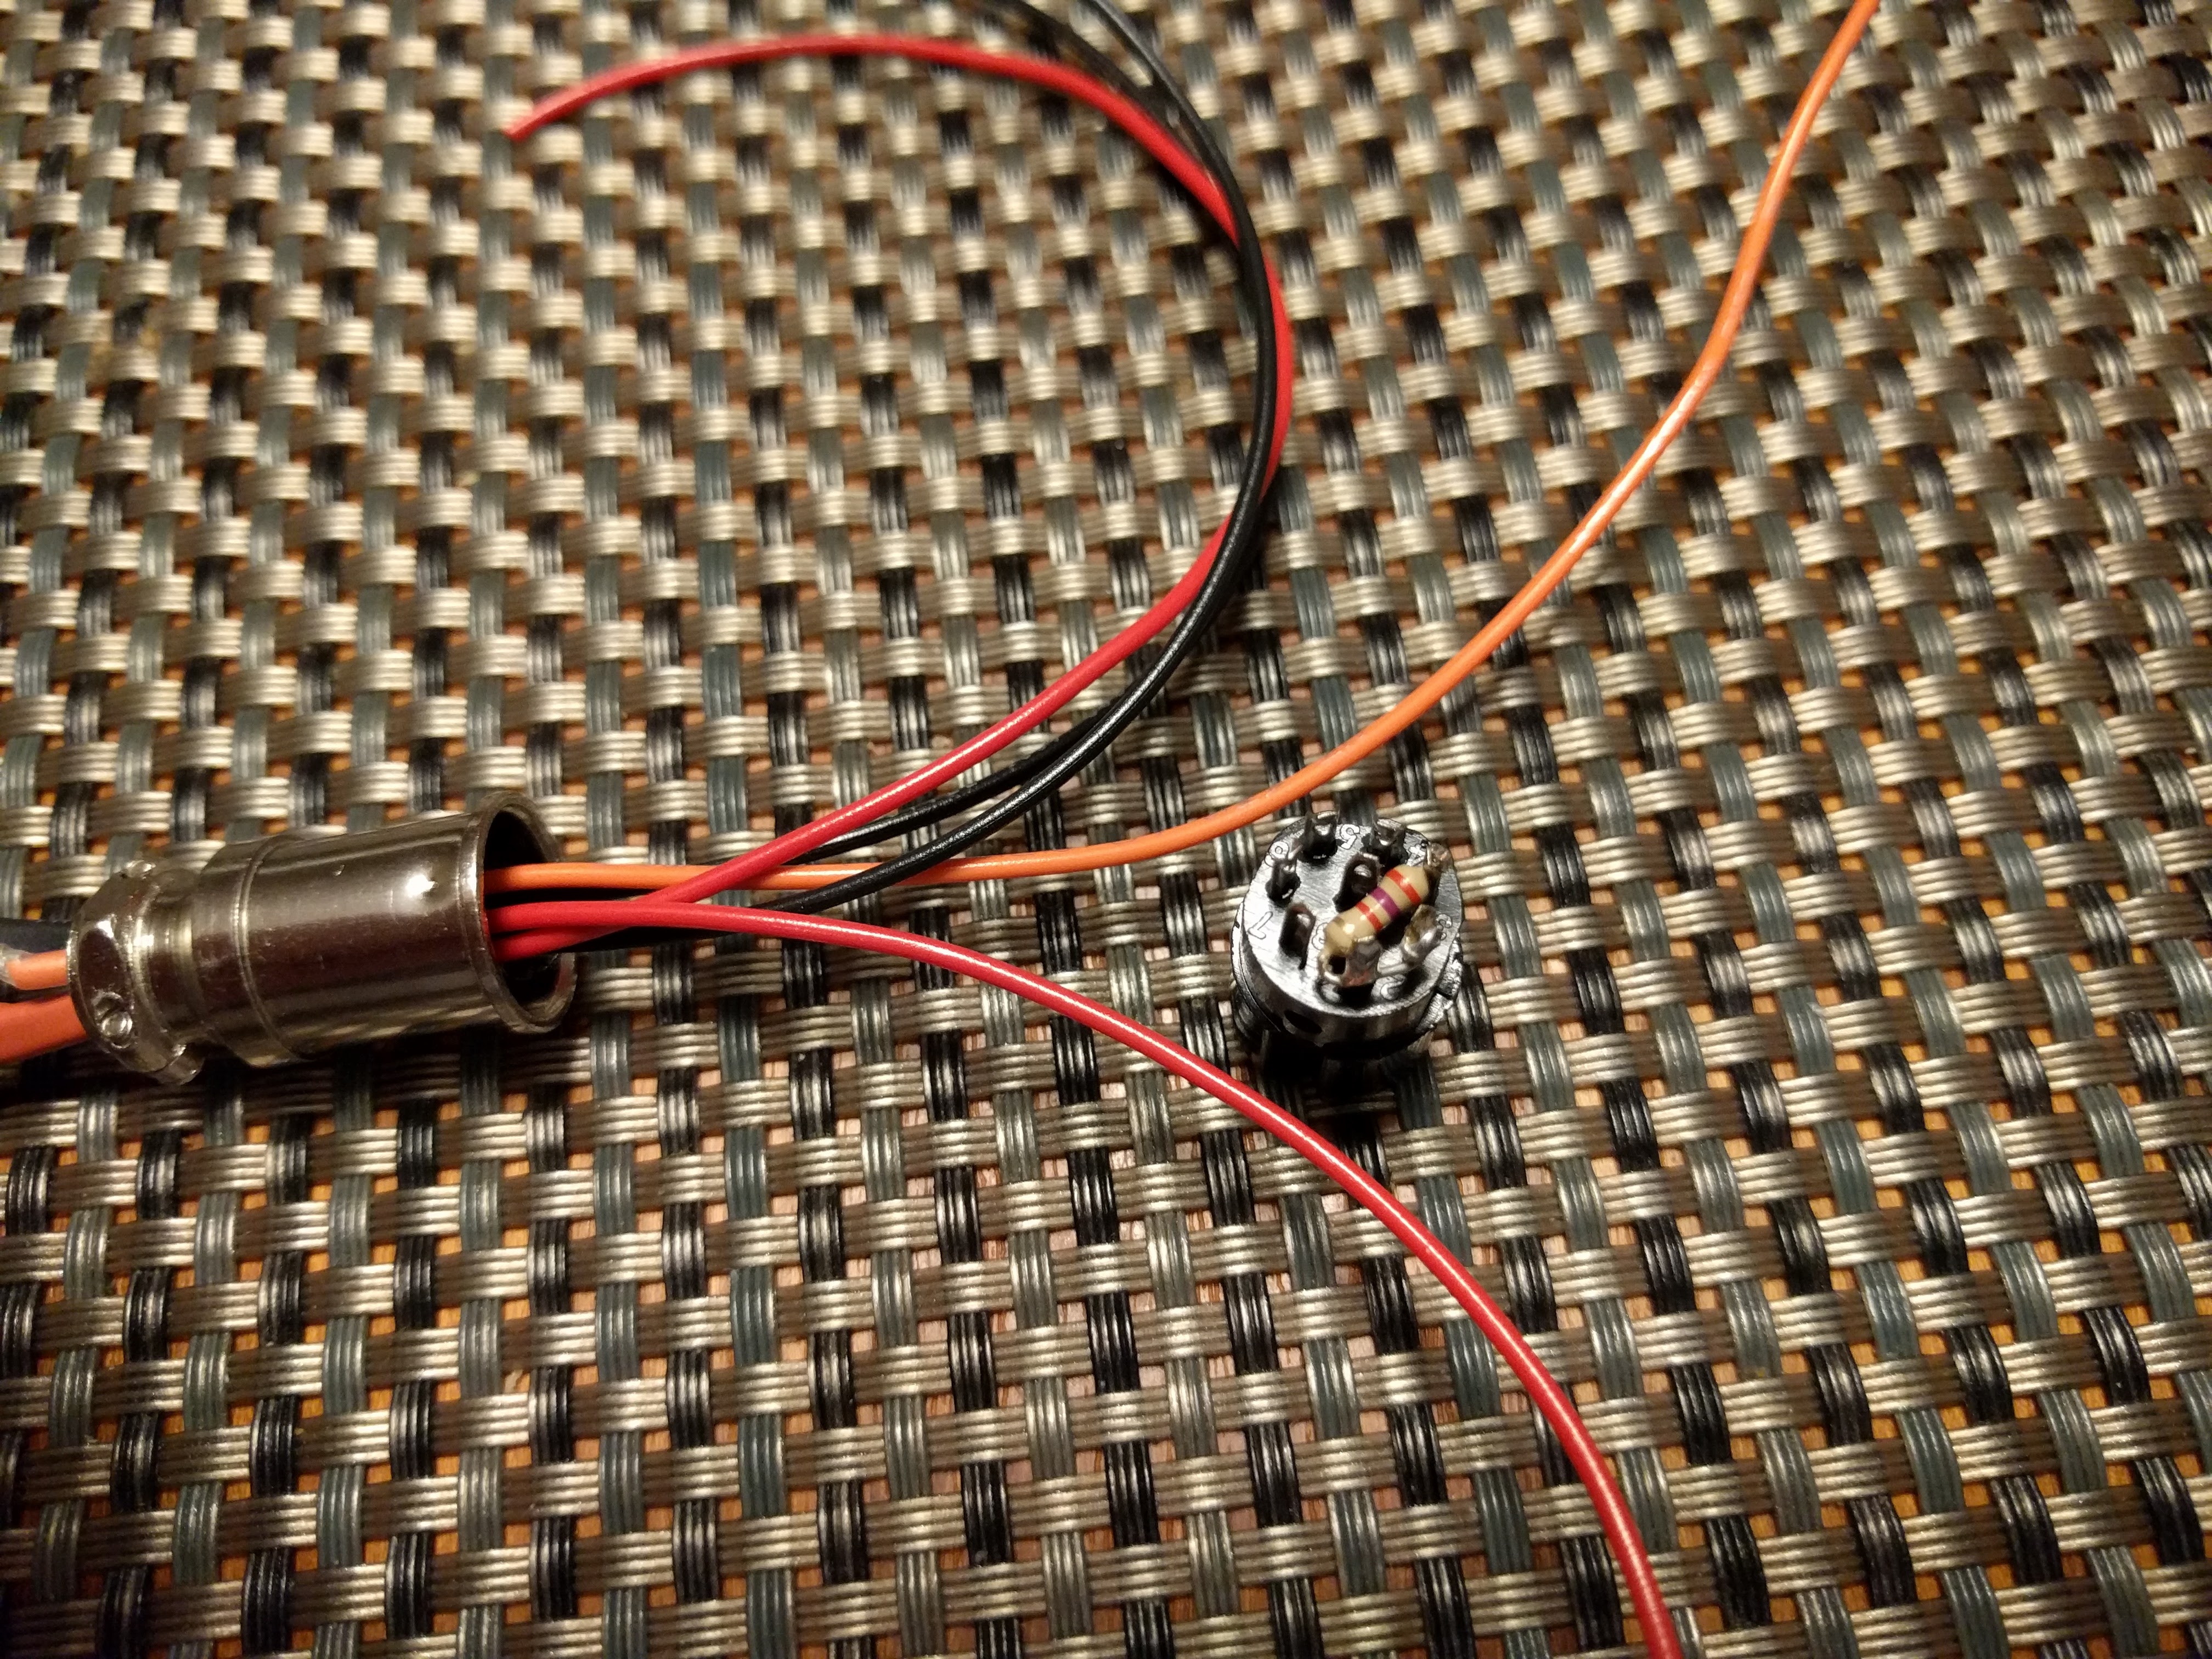 Once the string is all wired up, all you need to is to wrap it in packing foam and insert it into the blade. Instead of me explaining it (poorly), please watch this excellent video. Once it's done, it should look something like this: 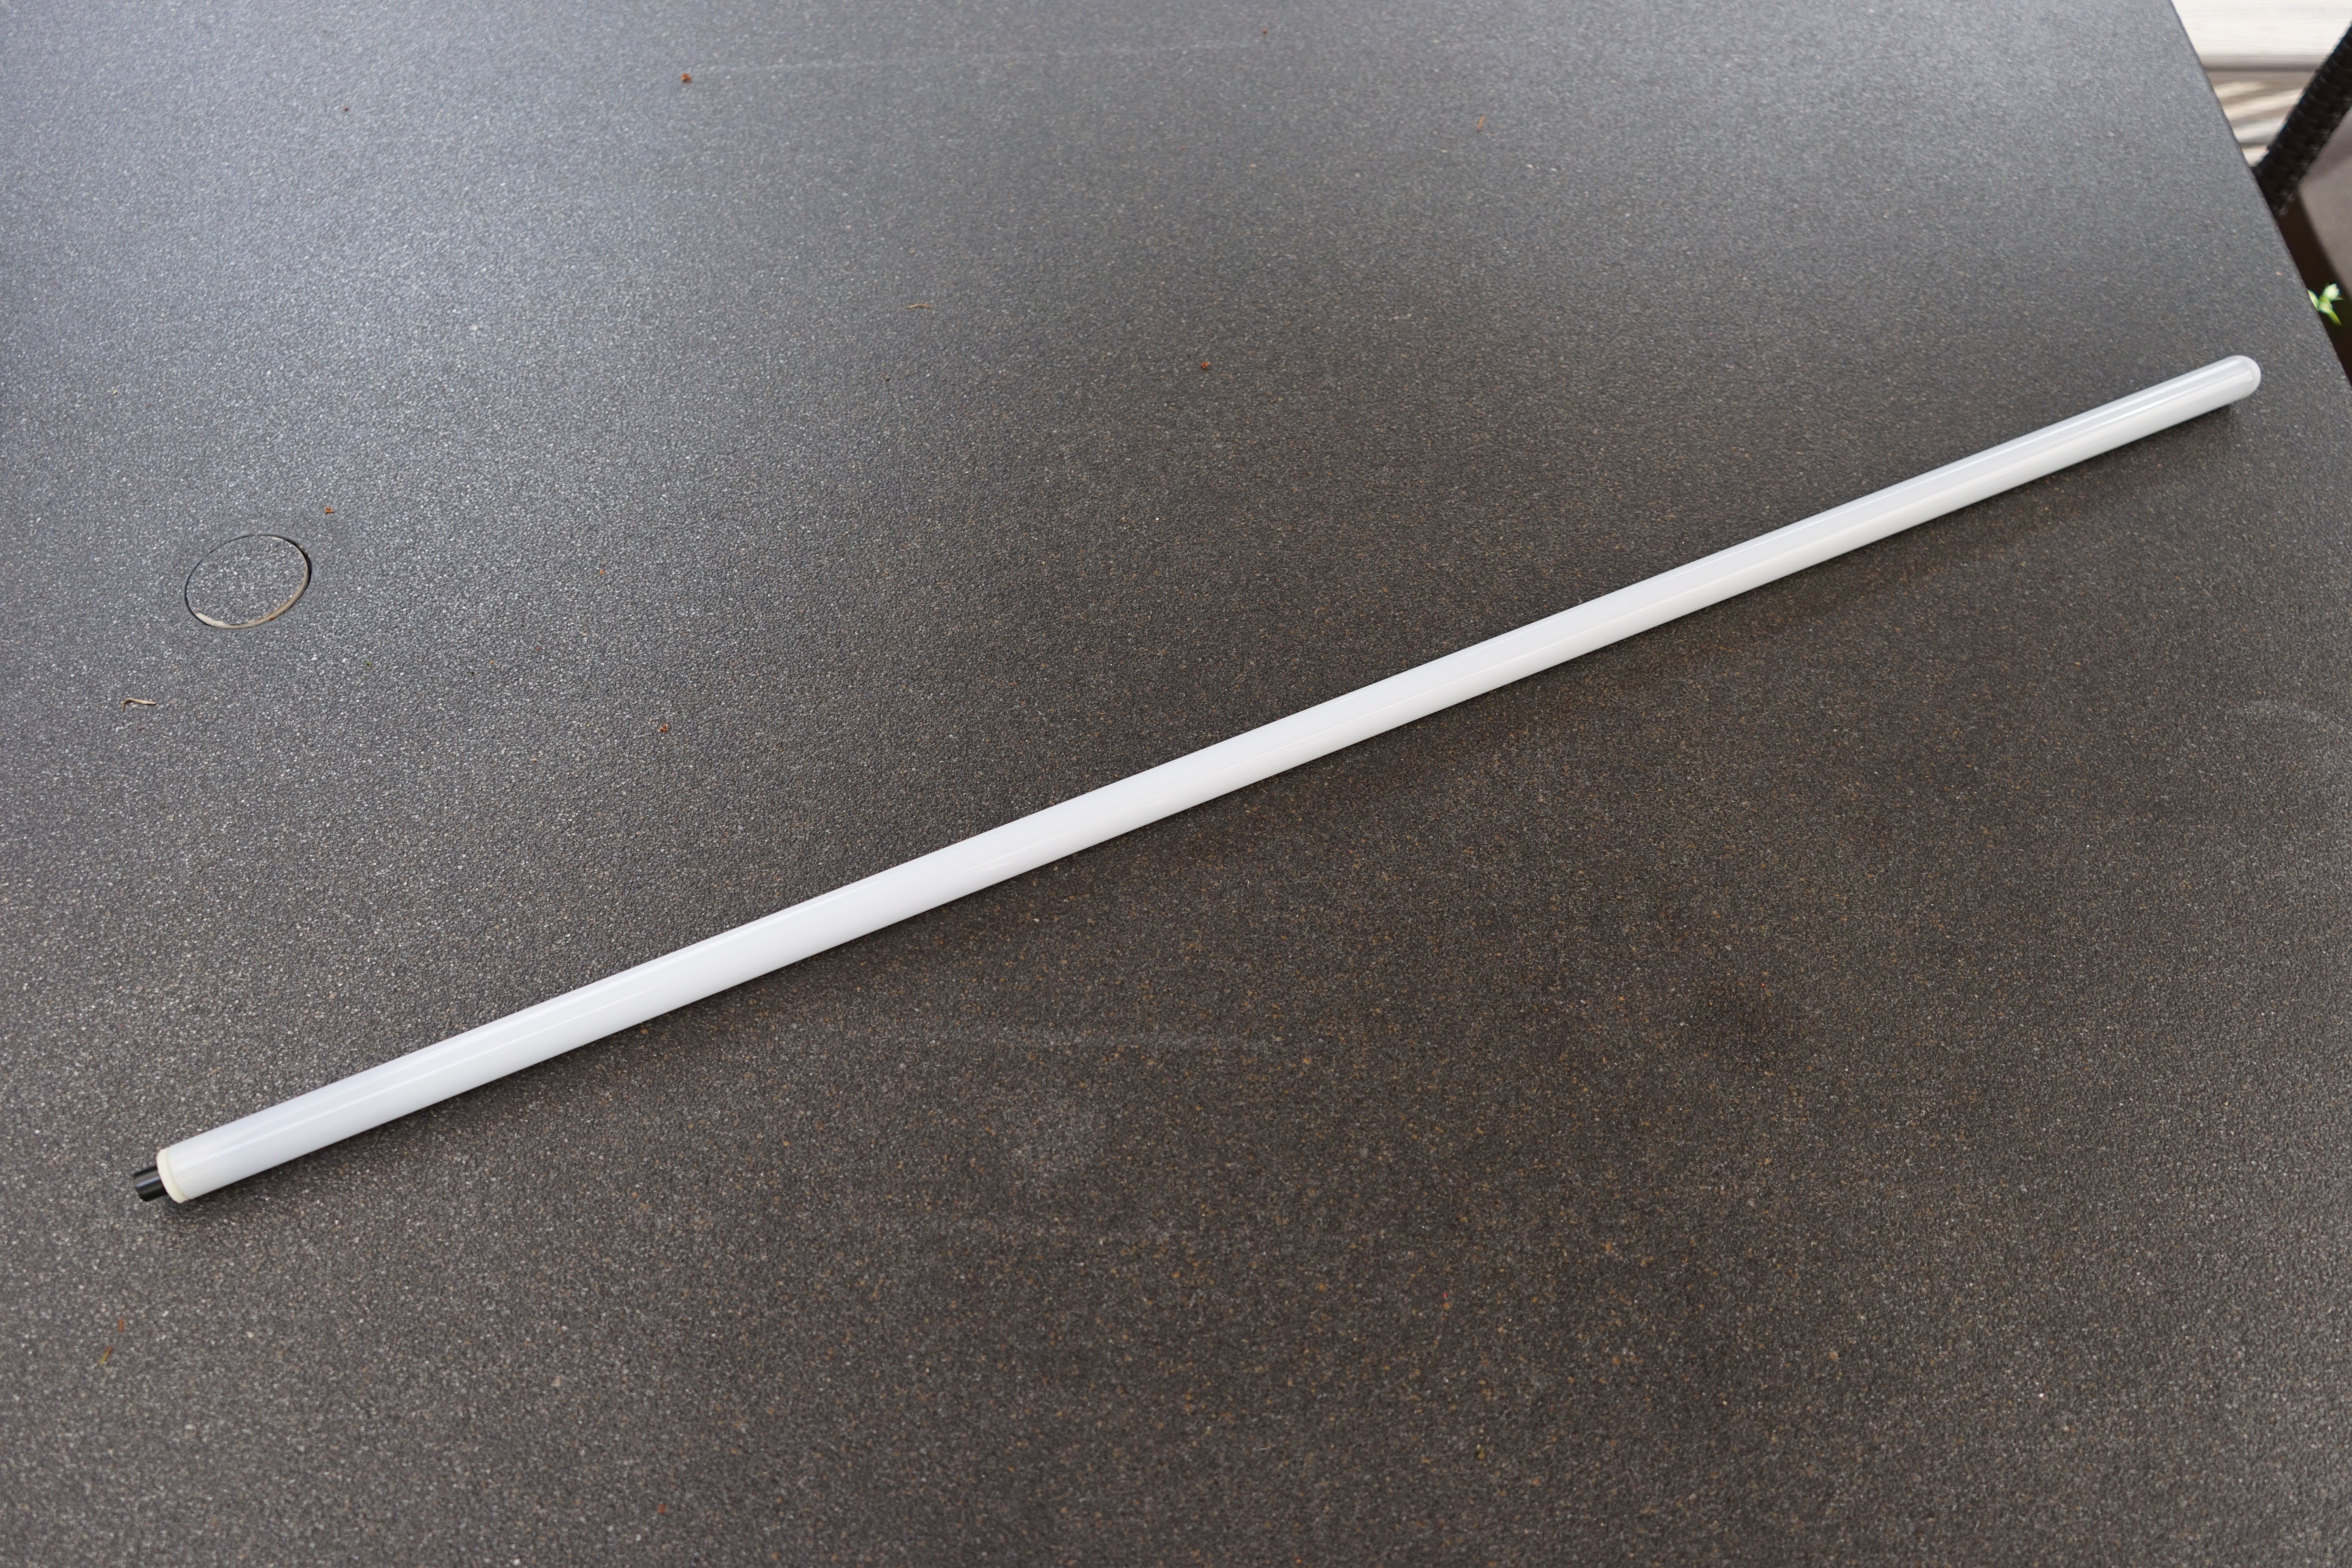 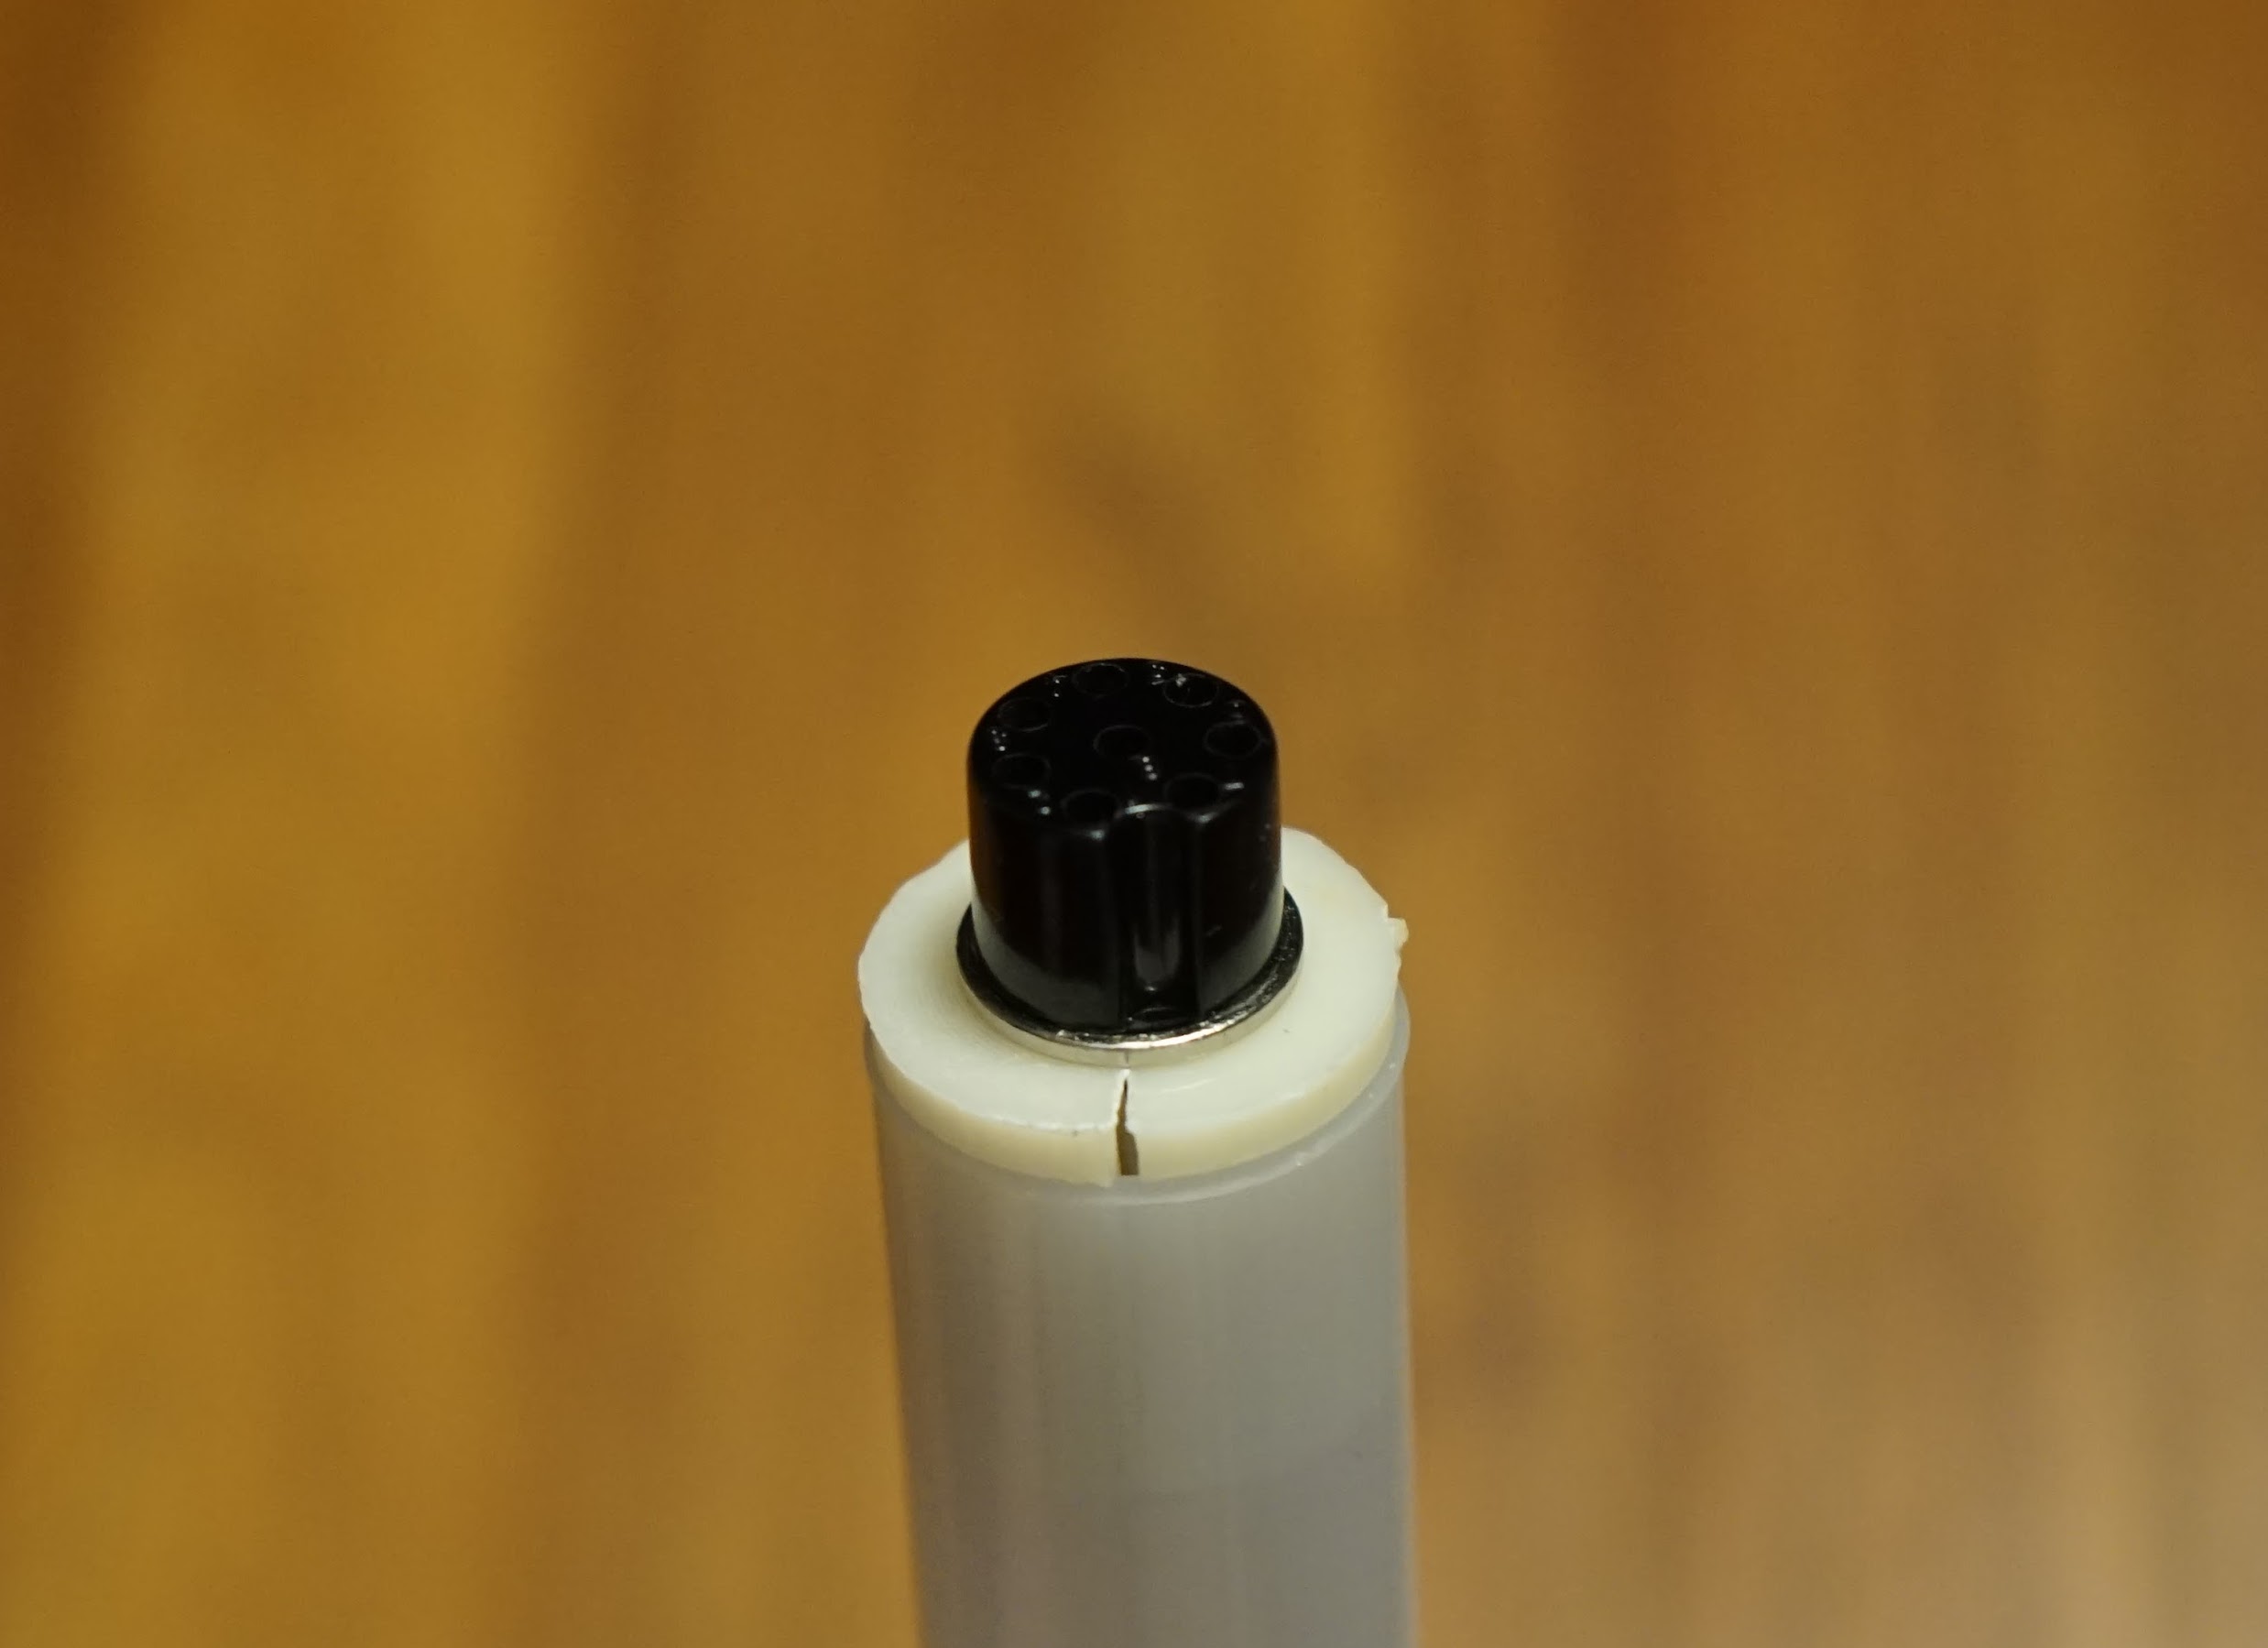 My blade ended up with 97 PL9823 LEDs. Each LED can draw about 60mA when white, so that means the whole thing can draw nearly 6A, also, it seems to draw a bit more than that during brief flashes or right when you turn it on, so make sure you have a battery that can provide enough current. Problems? Questions? Suggestions? Check out The Crucible. Last modified: March 29th, 2021 - Design by Monica & Fredrik Hübinette |
|||||||||||
